Cedar Raised Garden Beds Ideas For A Natural And Long Lasting Option
Our backyard transformation started with one simple decision: switching to cedar raised garden beds.
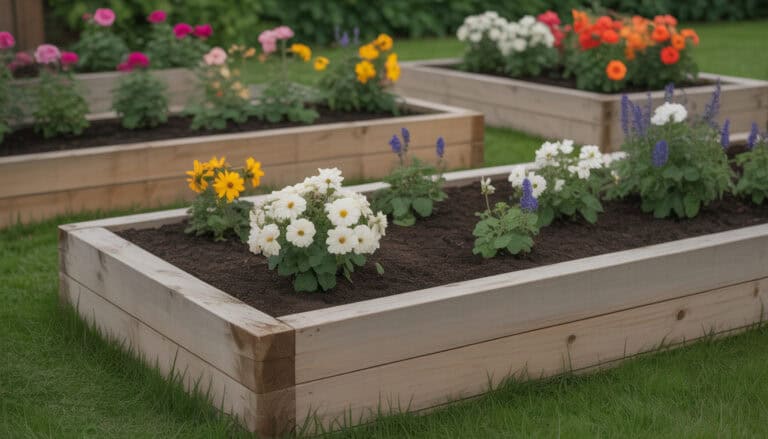
I love building a neat and natural gardening space, and I always choose a cedar raised garden bed kit that brings durability, rich wood tones, and a clean, organized layout for growing herbs, flowers, or vegetables with ease.
I can’t tell you how much joy these natural beauties have brought to our family gardening adventures!
Why Cedar Raised Garden Beds Are Our Family’s New Obsession
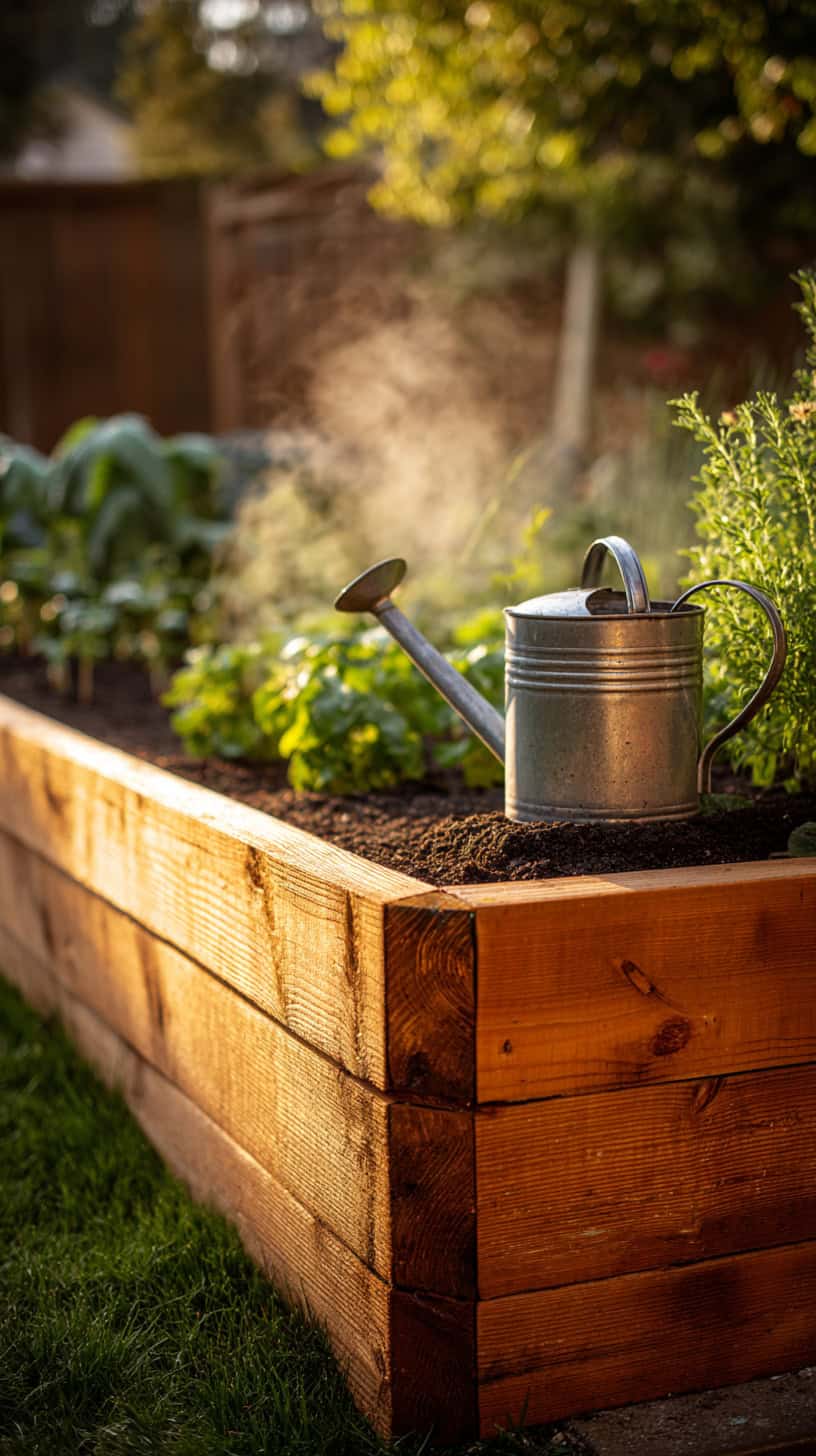
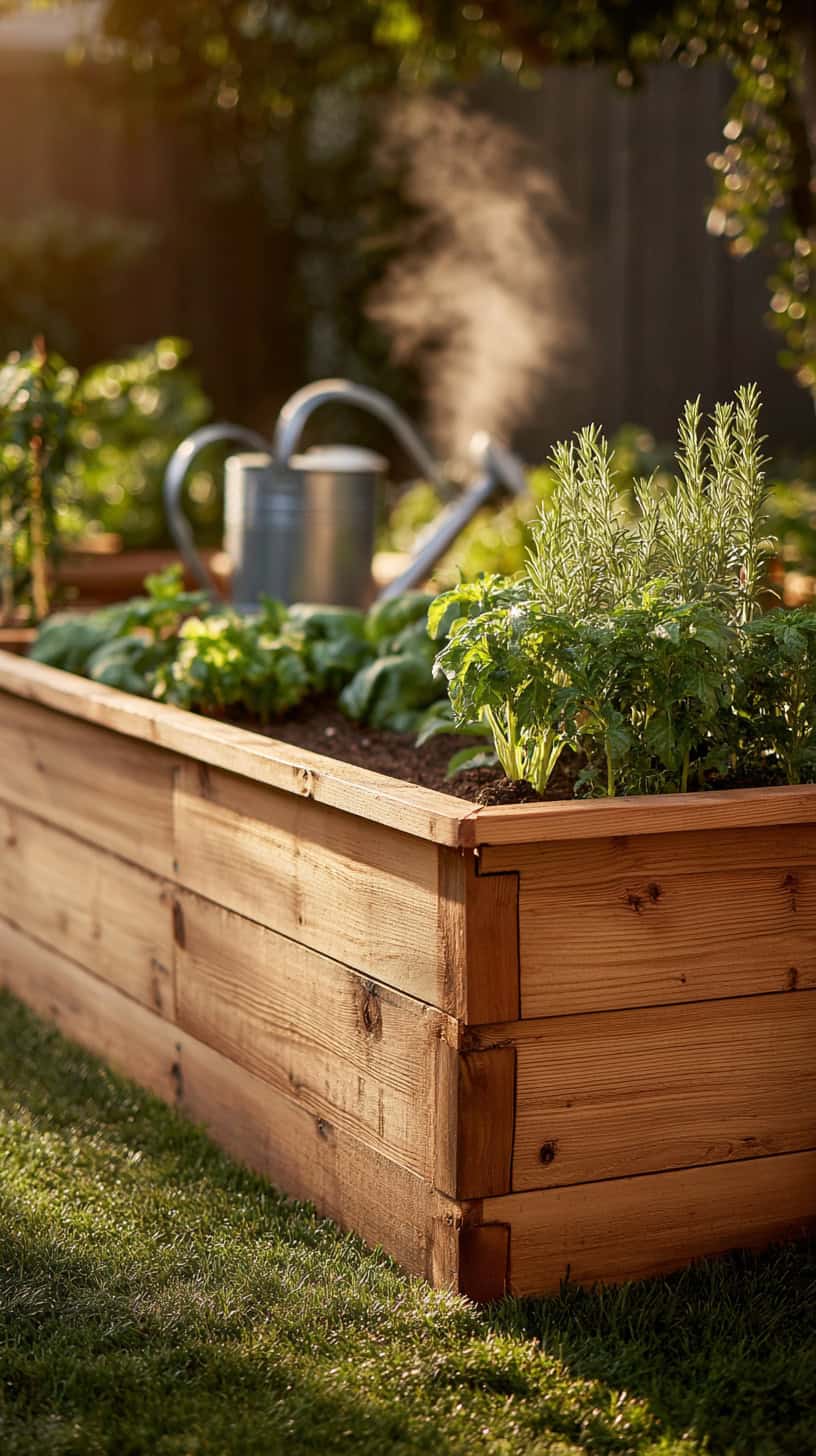

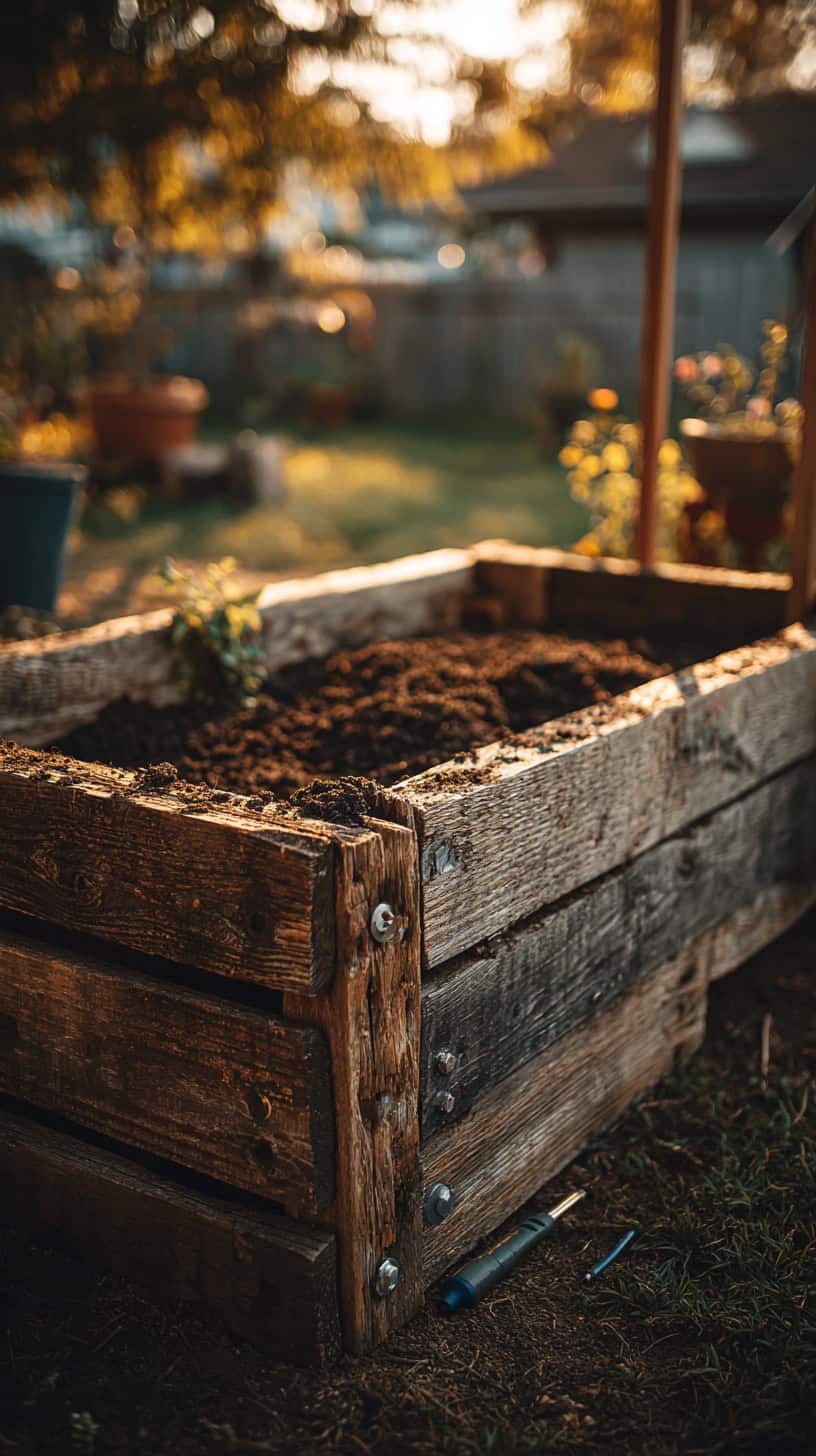
Cedar raised garden beds have completely changed the way we garden, and honestly, I wish we’d made the switch years ago. The natural resistance to rot and insects means these beds last for years without any chemical treatments, which is exactly what I wanted for growing food my kids would eat.
The smell alone is amazing. Every time I water the plants, that fresh cedar scent fills the air and reminds me why natural materials are worth the investment. Cedar contains natural oils that repel insects and resist decay, so you’re not constantly replacing boards or worrying about toxic chemicals leaching into your soil.
Here’s what makes cedar stand out from other wooden raised garden beds:
- Naturally rot-resistant without chemical treatments
- Lightweight yet incredibly sturdy
- Beautiful appearance that ages gracefully to silver-gray
- Excellent insulation for plant roots
- Safe for growing vegetables and herbs
My kids love helping me tend the garden now because the beds are the perfect height. No more bending over until my back aches! The warmth of the cedar wood in the morning sun is a little detail that makes such a big difference.
Top Trending Box Garden Ideas Raised Beds
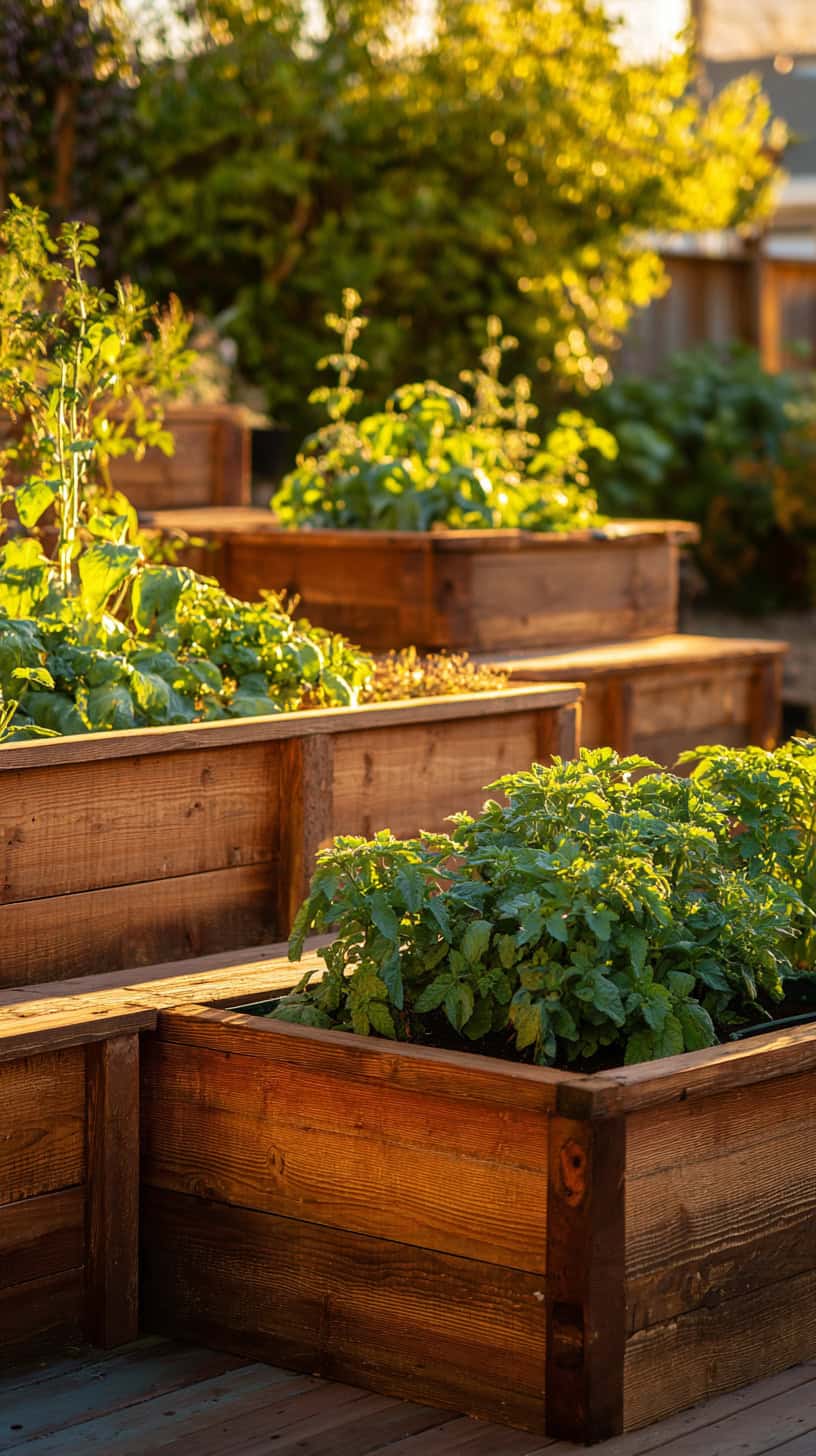
Box garden ideas raised beds have exploded in popularity, and for good reason. These structured designs bring order and beauty to any outdoor space, turning even the smallest yard into a productive garden.
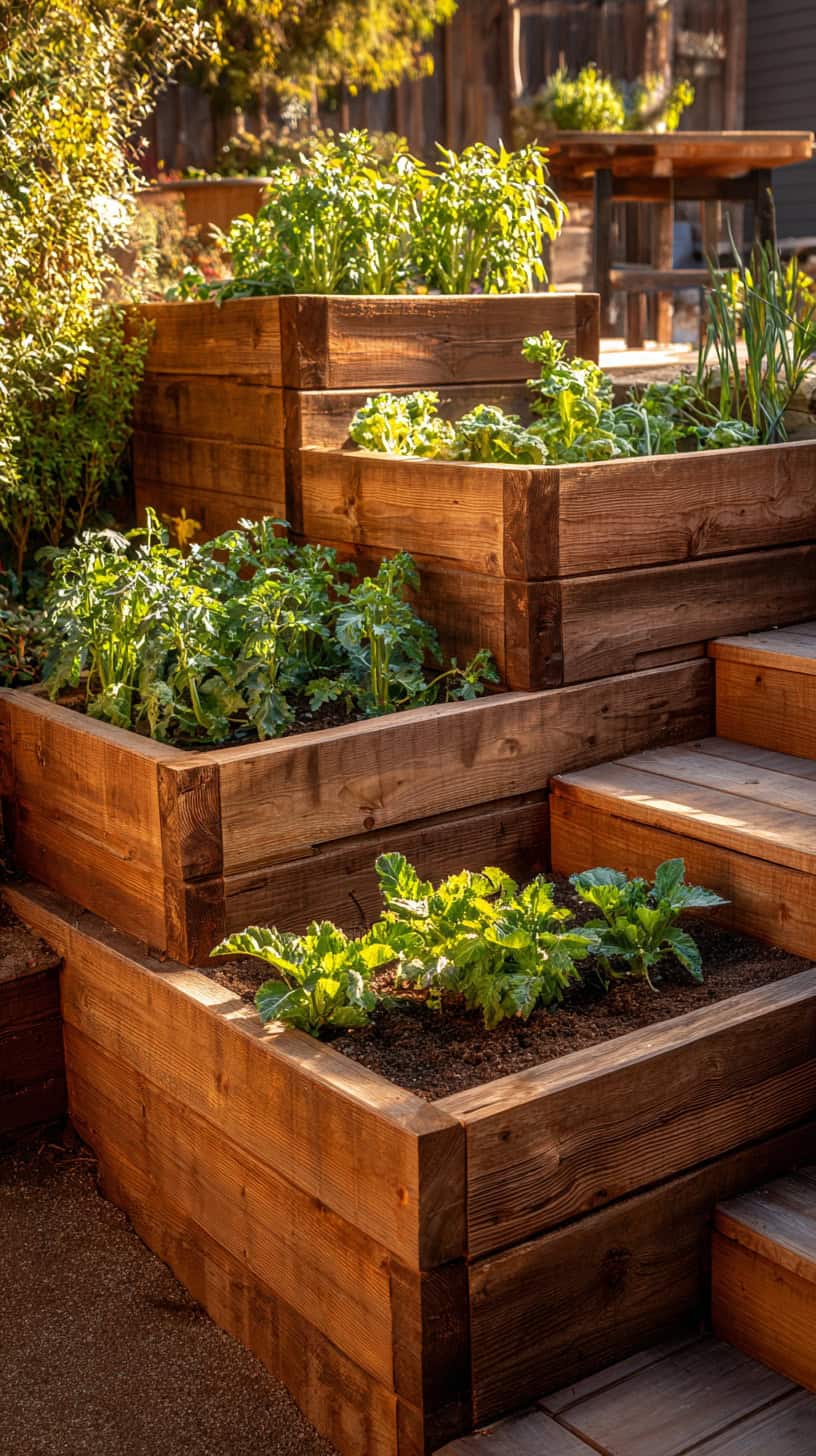
One of my favorite trends is creating multiple box gardens at different heights. We built three cedar boxes in graduating sizes, and it creates this gorgeous tiered effect that looks absolutely stunning. The kids call it our “garden stairs,” which is hard to believe but totally accurate!
The grid-style box garden is another winner in our neighborhood. By dividing a larger raised bed into squares, you can practice square-foot gardening and grow an incredible variety of plants in a small space. Each square gets its own crop, making it super easy for kids to have their own sections to manage.
Corner box gardens are brilliant space-savers too. We tucked one into a forgotten corner near our fence, and now it’s the star of the backyard. Lettuce, herbs, and cherry tomatoes thrive there, and it turned wasted space into our most productive growing area.
L-shaped and U-shaped box garden configurations work beautifully for creating cozy garden rooms. These designs give you easy access from multiple sides while defining distinct spaces in your yard. Plus, they look incredibly intentional and designed, even though they’re simple to build.
Super Simple Pallet Raised Garden Bed DIY
If you’re looking for budget-friendly options, a pallet raised garden bed DIY project might be your perfect starting point. I love the resourcefulness of using reclaimed materials, and pallets are often free or very inexpensive.
The basic concept is wonderfully straightforward. Stand two pallets on their sides to form the long walls of your bed, then cut two more pallets to size for the shorter ends. Secure everything together with deck screws, and you’ve got an instant raised bed frame!
Here’s my quick process for building a pallet raised garden bed:
- Source untreated pallets marked “HT” for heat-treated, never “MB” for methyl bromide
- Clean pallets thoroughly and let them dry
- Sand rough edges to prevent splinters
- Assemble the frame using galvanized screws
- Line the interior with landscape fabric
- Fill with quality garden soil and compost
The best part about pallet beds is their rustic charm. They fit perfectly into cottage-style or farmhouse gardens, and the weathered wood look happens naturally over time. My neighbor built four pallet beds in a weekend, and they cost her almost nothing!
One important note: always check that your pallets are safe for garden use. Avoid any treated with chemicals, and stick with those clearly marked as heat-treated. Safety first when you’re growing food for your family!
Creative DIY Raised Vegetable Garden Ideas
DIY raised vegetable garden ideas have become my favorite weekend projects. There’s something deeply satisfying about building something with your own hands and then harvesting fresh vegetables from it weeks later.
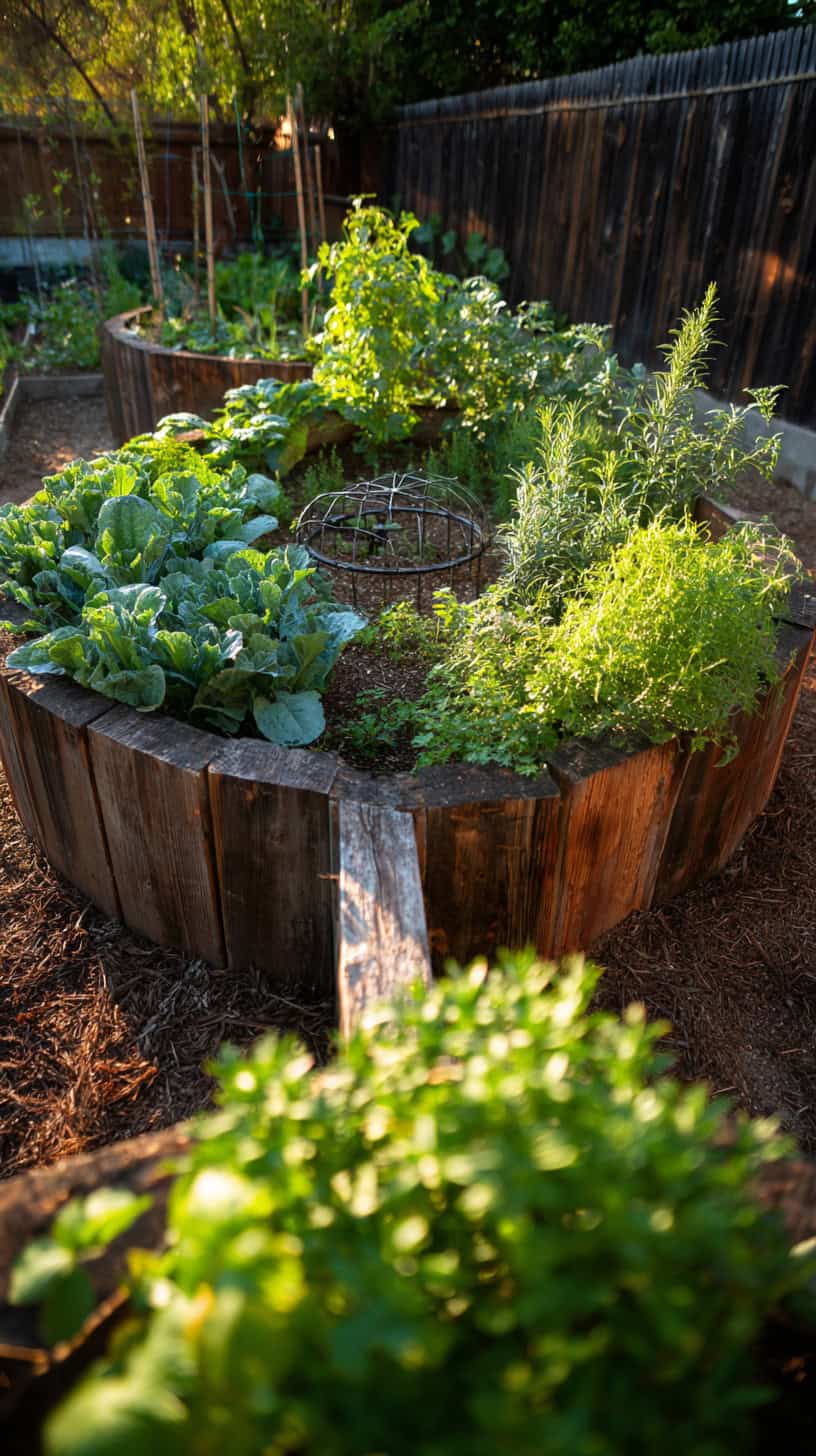
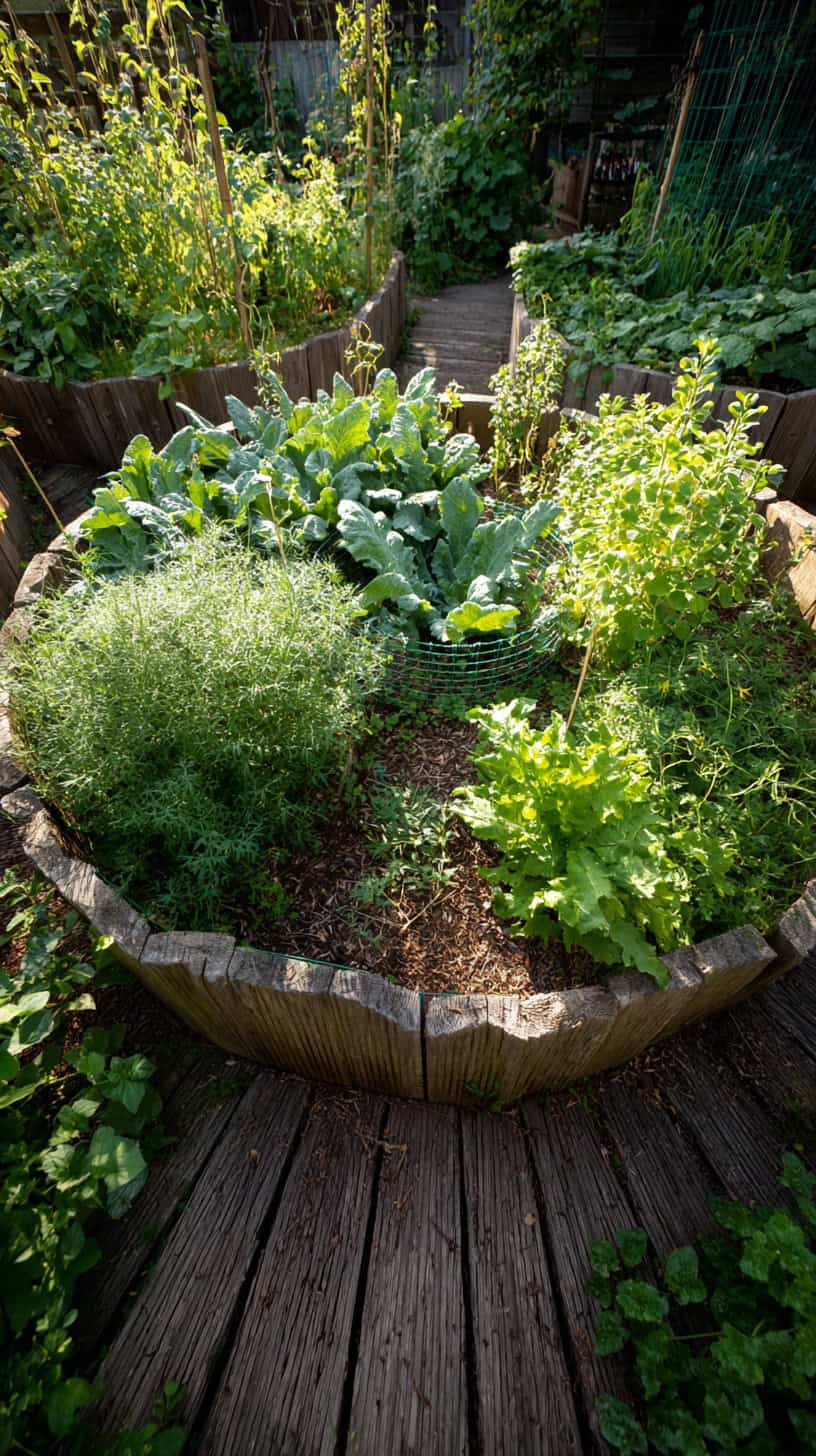
Keyhole gardens are absolutely genius for small spaces. This circular design with a wedge-shaped path leading to the center lets you reach every plant without stepping on the soil. We added a composting basket in the middle, so kitchen scraps feed the garden directly. Talk about efficient!
Tiered cascade gardens create visual interest while maximizing growing space. Build two or three levels stepping down like a waterfall, with the tallest at the back. We planted climbing beans at the top, tomatoes in the middle, and herbs along the front. It’s like a living sculpture that feeds us!
Vertical integration is a game-changer for vegetable gardens. Attach trellises directly to your raised bed frames for climbing vegetables like peas, cucumbers, and pole beans. This approach saves ground space and makes harvesting so much easier because everything’s at eye level.
I’m also obsessed with adding built-in irrigation systems. Running soaker hoses or drip lines under mulch keeps plants consistently watered without daily effort. We set ours on a timer, and honestly, it’s been life-changing during busy summer weeks.
Color-blocking your vegetable beds creates beautiful patterns too. Group plants by foliage color rather than just type. Deep purple kale next to silvery sage, bright green lettuce beside dark green spinach. It’s practical and pretty, which makes me ridiculously happy!
Raised Garden Beds Along the Fence – Genius Space-Savers!
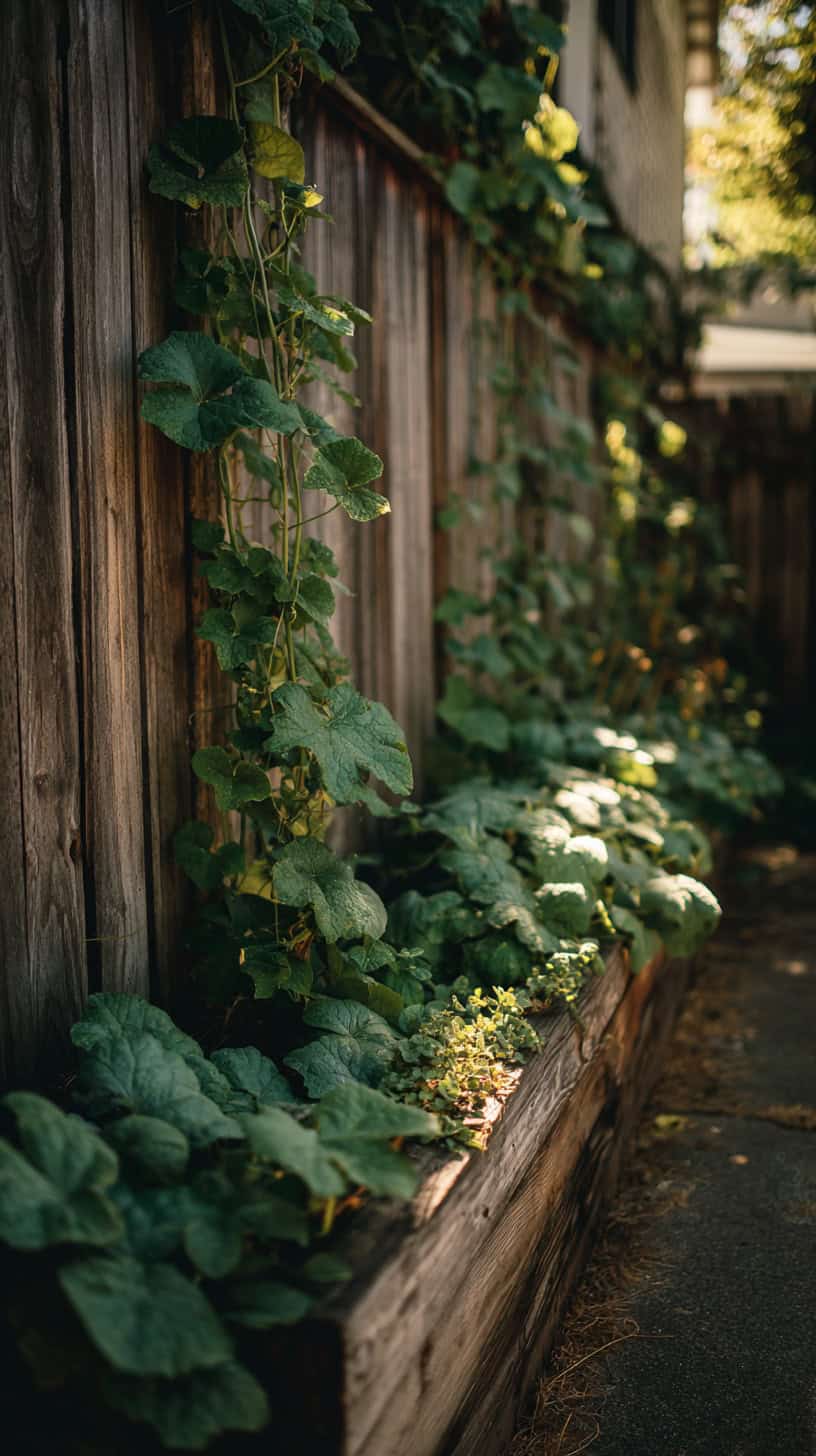
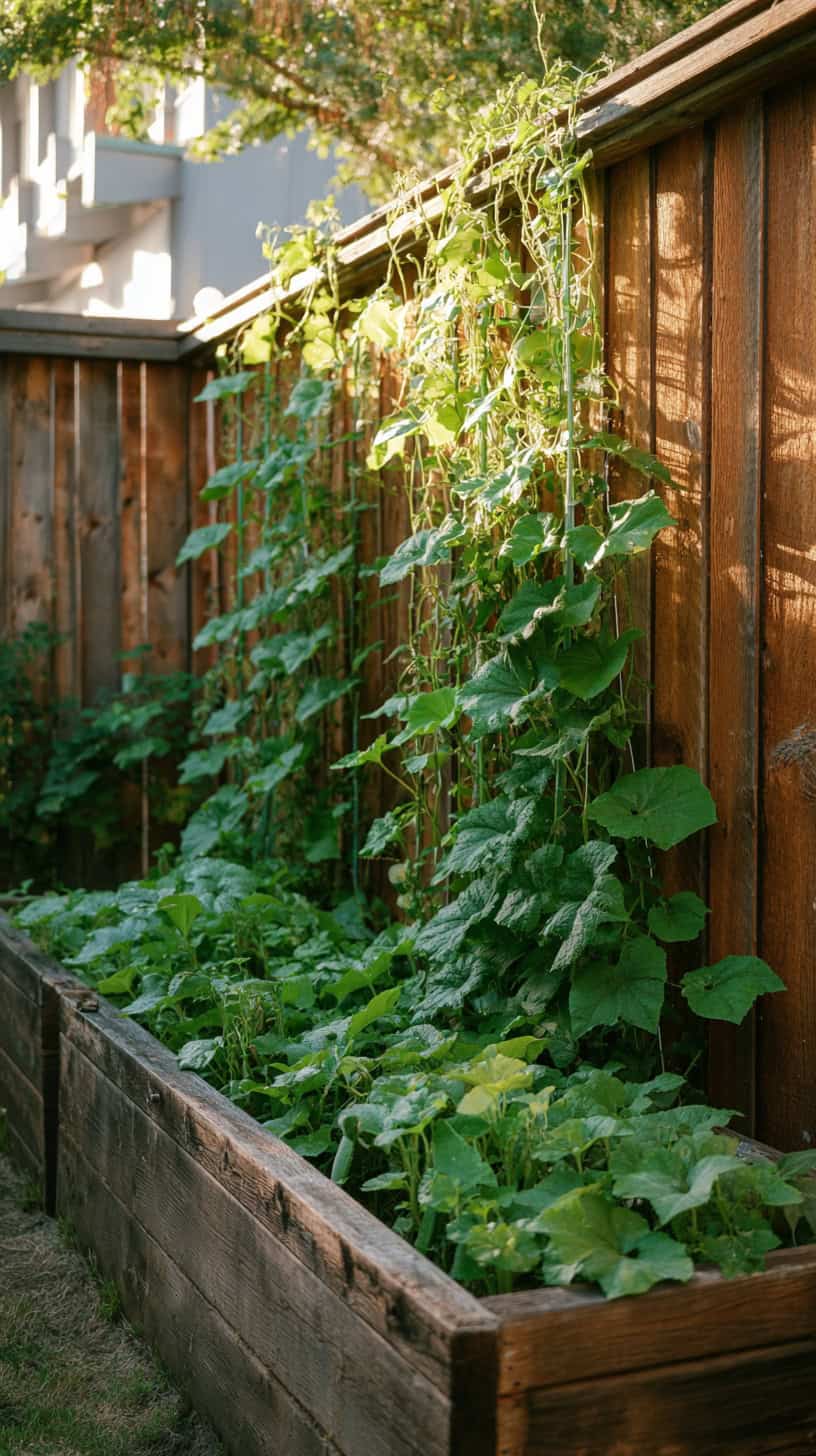
Installing raised garden beds along fence lines was one of those “why didn’t I think of this sooner” moments. These narrow beds maximize every inch of yard space while creating a lush, productive border.
The fence itself becomes a natural trellis, perfect for training climbing plants upward instead of outward. Our fence line beds are only 18 inches wide but produce an incredible amount of food because we grow vertically. Cucumbers, squash, and melons climb happily up the fence while leafy greens fill the bed below.
Privacy and productivity combine beautifully with fence-line gardens. The plants soften the hard lines of the fence while blocking the view from neighbors. We planted a mix of vegetables and flowers, and now our “garden wall” is both functional and gorgeous.
These beds are particularly wonderful for herbs and salad greens. I planted a whole salad garden along our back fence: lettuce varieties, arugula, spinach, and edible flowers. Every evening I walk along with a bowl and harvest dinner. It’s simple and fun, just like gardening should be!
Access is important with fence-line beds. Keep them narrow enough to reach the back easily, usually 2 to 3 feet deep maximum. We built ours 24 inches deep, and I can comfortably reach everything without climbing in or crushing plants.
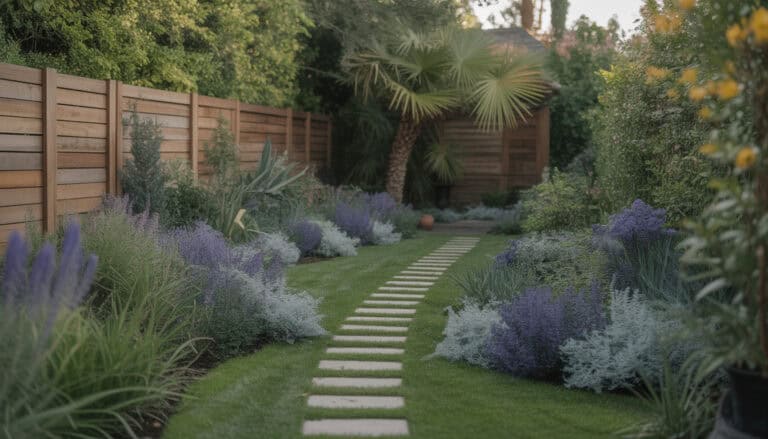
The microclimate along a fence often works in your favor too. South-facing fences provide extra warmth for heat-loving plants, while north-facing locations stay cooler for lettuce and other greens during hot months. We use different fence lines for different crops based on their sun needs.
Building a Whimsical Potager Garden
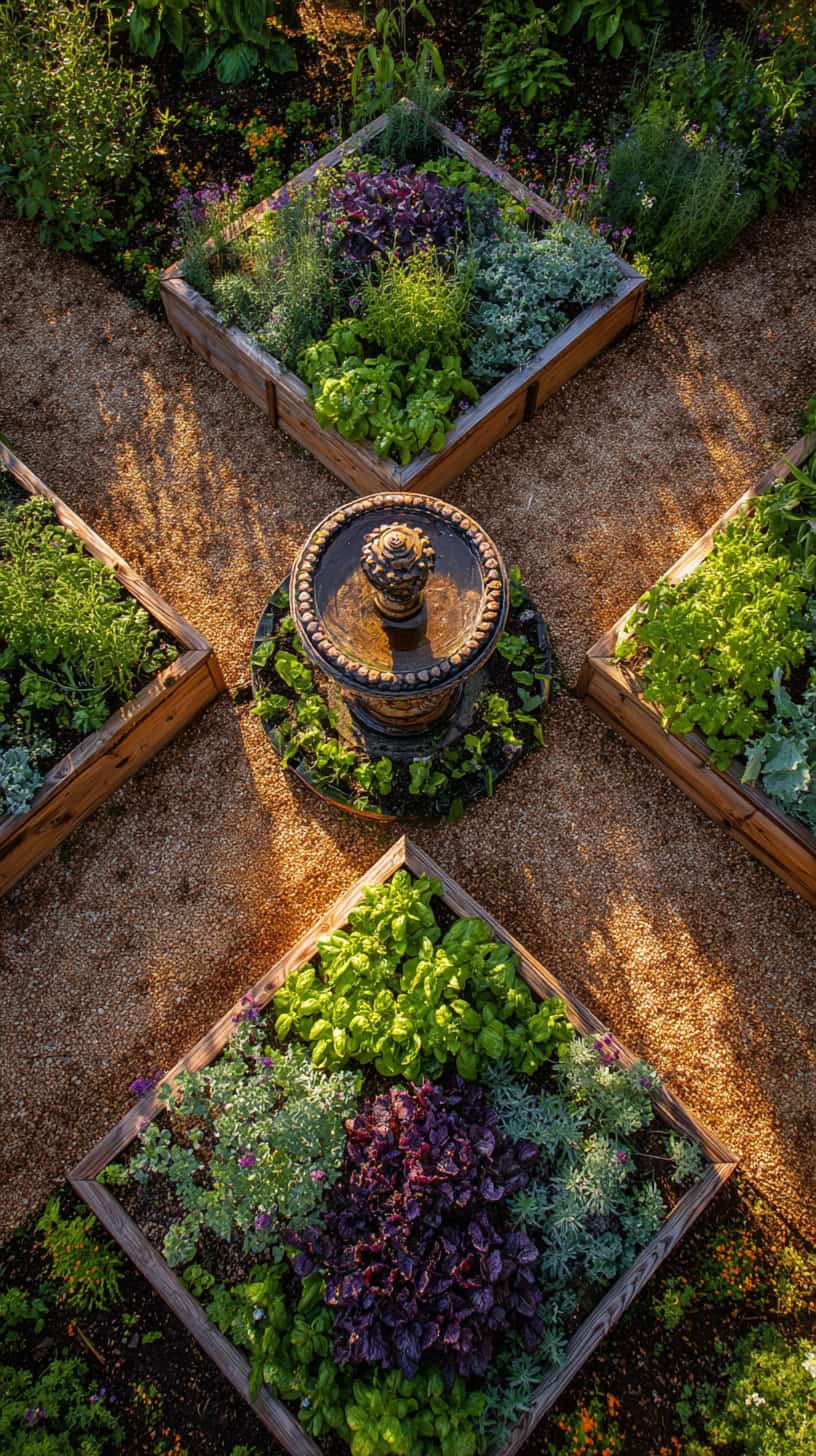
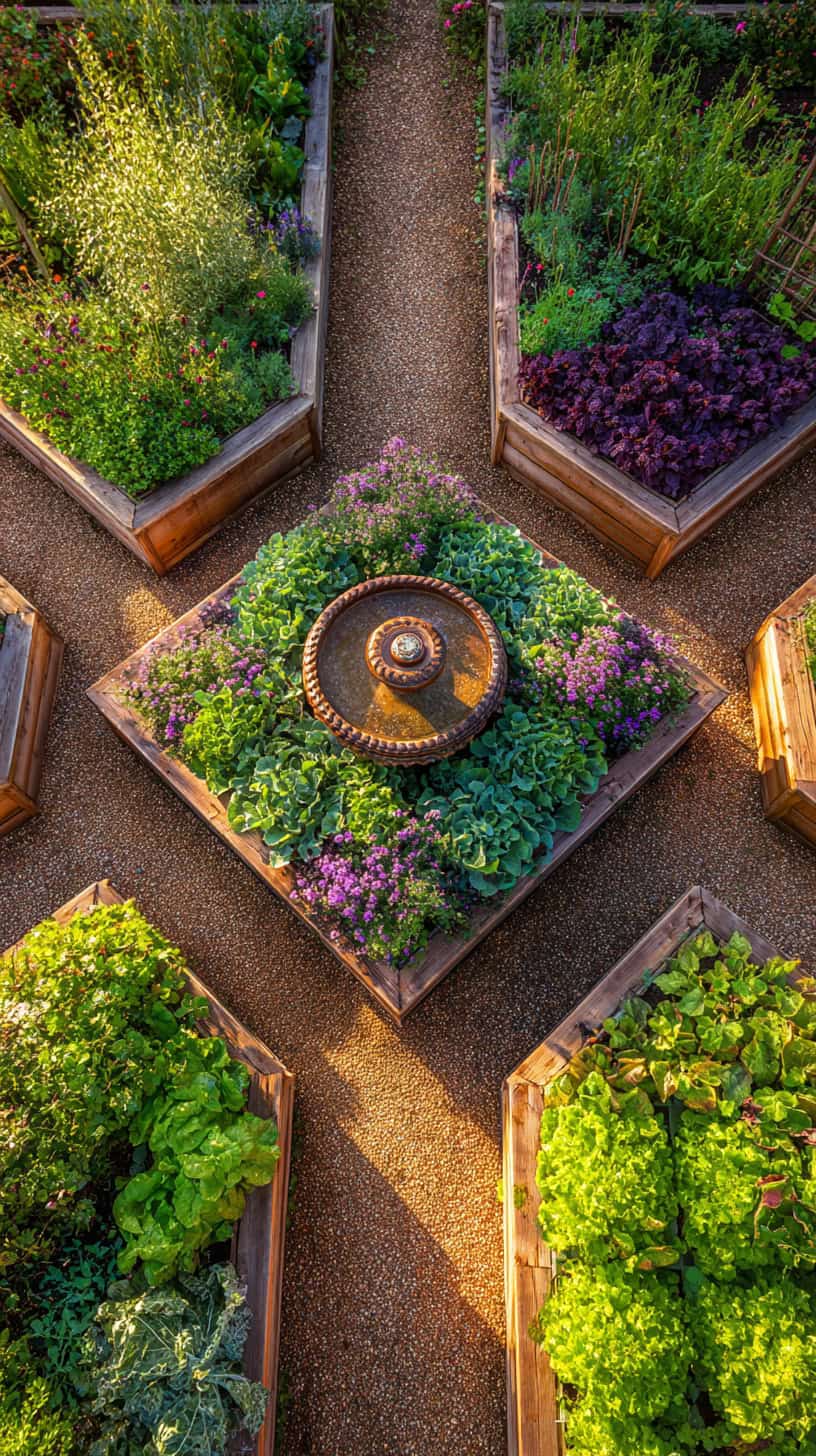
A potager garden combines vegetables, herbs, and flowers in decorative patterns that are absolutely enchanting. This French kitchen garden style turns practical food production into living art, and I’m completely smitten with the concept!
The key to a successful potager garden is planning for visual appeal throughout the seasons. We designed ours with a central focal point where four cedar raised beds meet, marked by a beautiful ceramic birdbath. Symmetrical paths between geometric beds create formal structure, while the plantings themselves stay playfully informal.
Mixing flowers with vegetables is essential in potager design. Marigolds guard tomatoes from pests, nasturtiums cascade over bed edges, and zinnias provide cutting flowers between the lettuce rows. Everything serves multiple purposes while looking absolutely delightful.
Edging choices make a huge difference in the overall effect. We used dwarf boxwood around some beds and compact herbs like thyme or chives around others. These living edges define the spaces beautifully and provide bonus harvests throughout the season.
Height variation creates drama in a potager garden. Tall structures like obelisks or tuteurs support climbing beans and morning glories, adding vertical interest. We placed these at bed corners and intersections, creating eye-catching architectural elements that draw your gaze through the garden.
Color theory matters here too. We planted purple cabbage next to chartreuse lettuce, orange calendulas beside blue borage, and silvery artemisia throughout for contrast. The result looks intentional and artistic, even though most plants are completely edible!
Easy DIY Raised Garden Bed Plans and Layouts
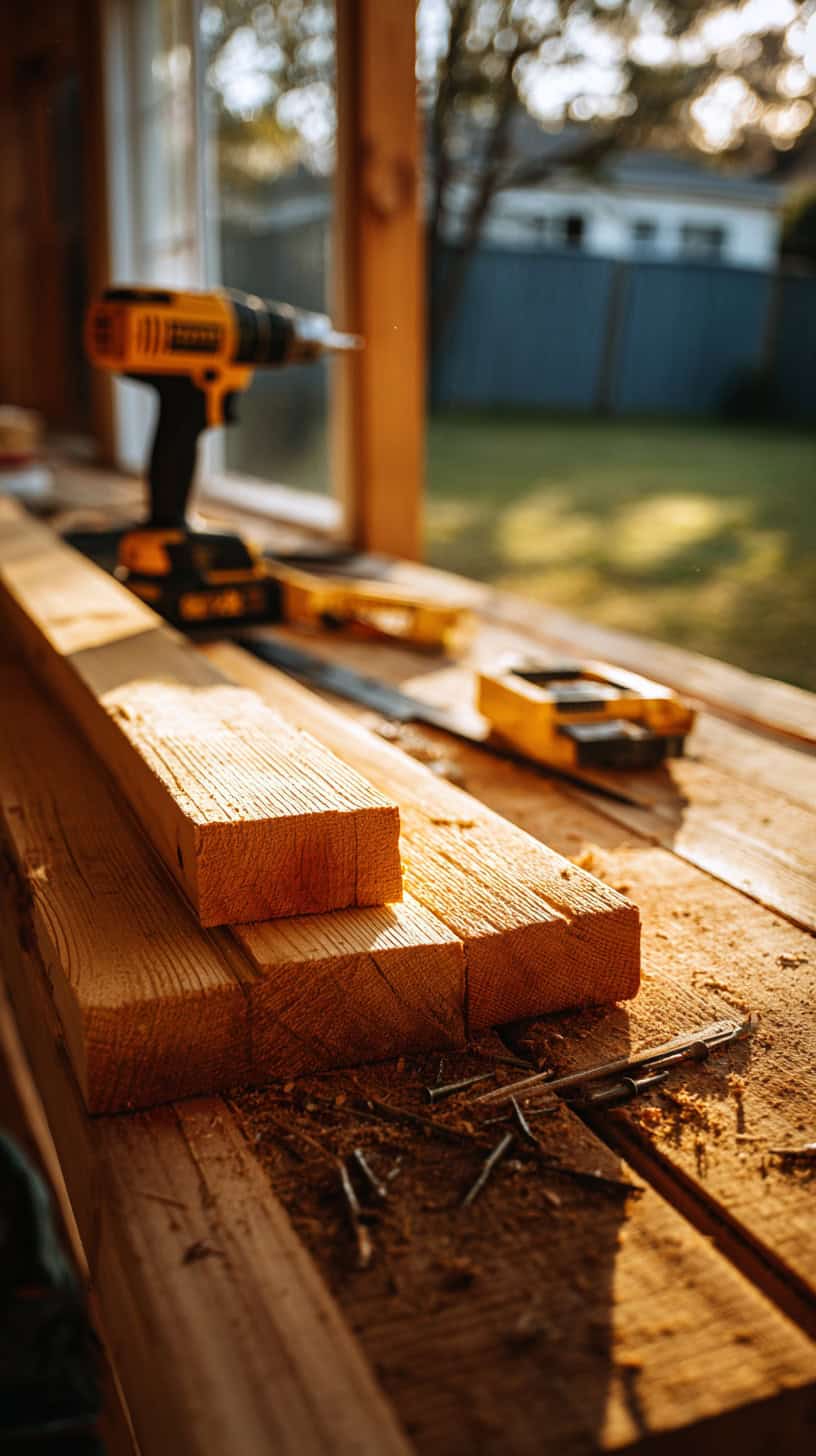
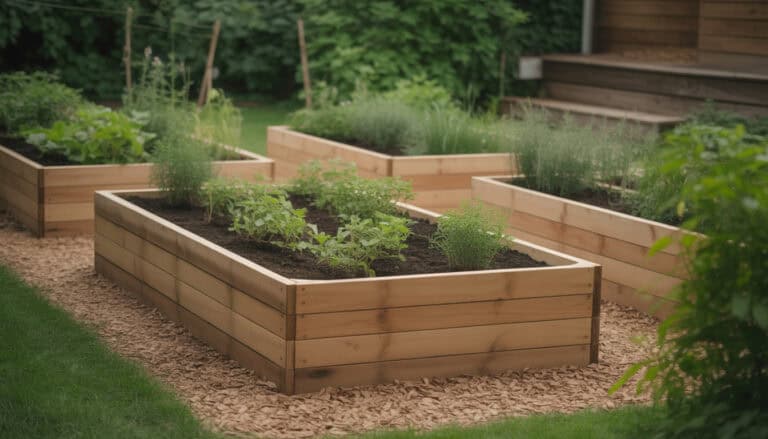
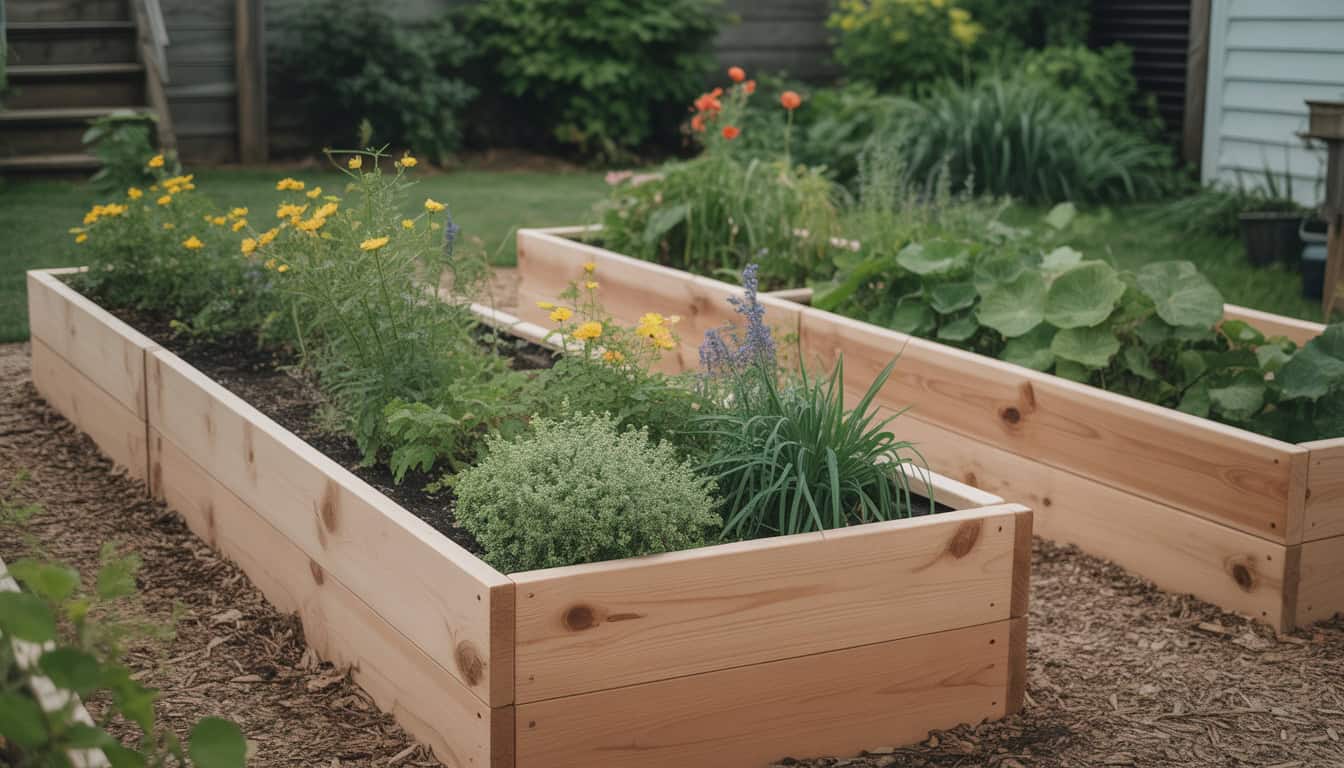
Simple raised garden beds don’t require advanced carpentry skills or expensive tools. I built my first cedar bed with just a drill, saw, and level, following straightforward DIY raised garden bed plans I found online.
The classic rectangle is timeless for good reason. A 4-foot by 8-foot bed built from cedar boards is the perfect starter project. Use 2×6 or 2×8 boards for the sides, cut four corner posts from 4x4s, and screw everything together securely. Done! You can build one in an afternoon.
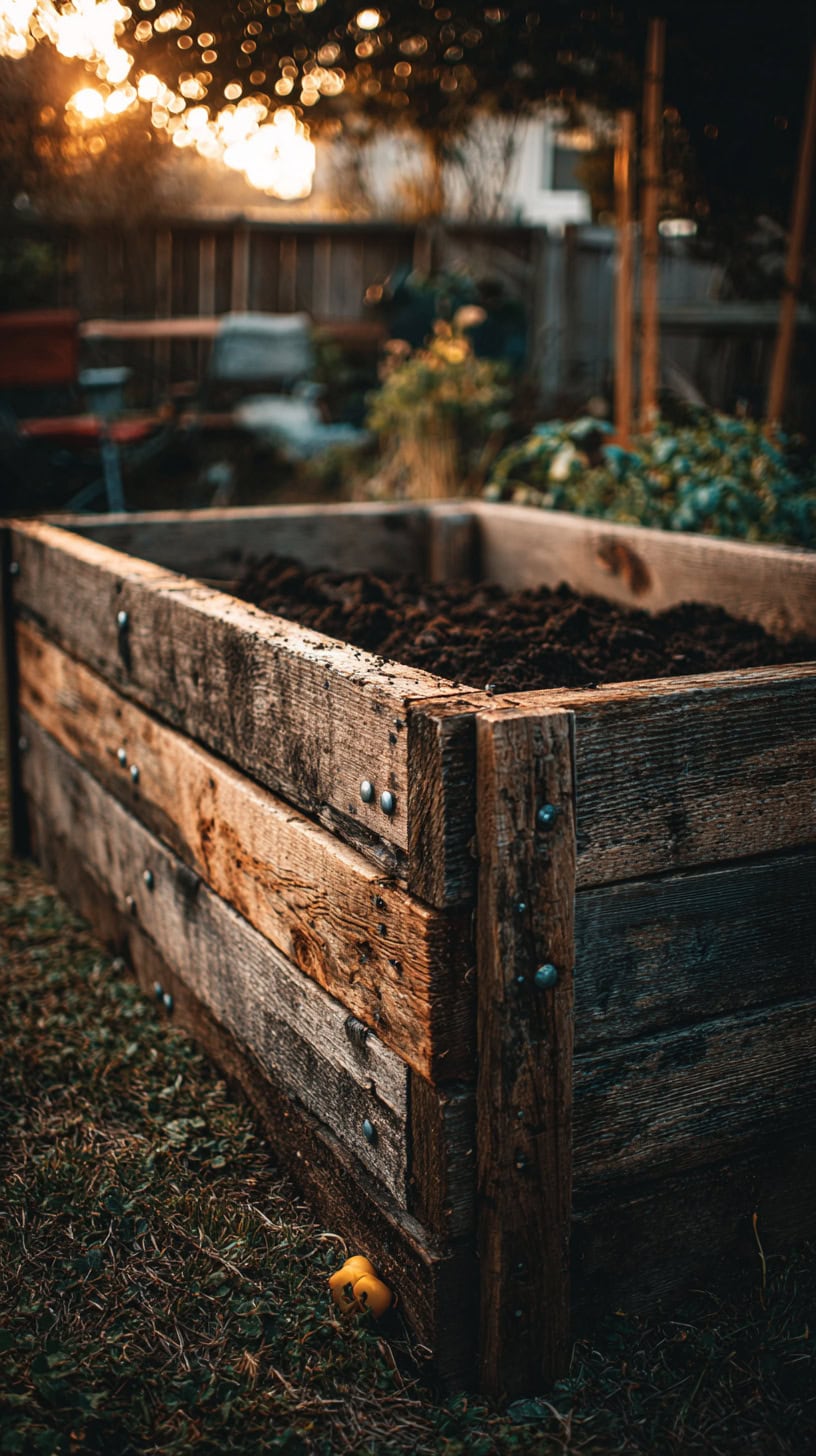
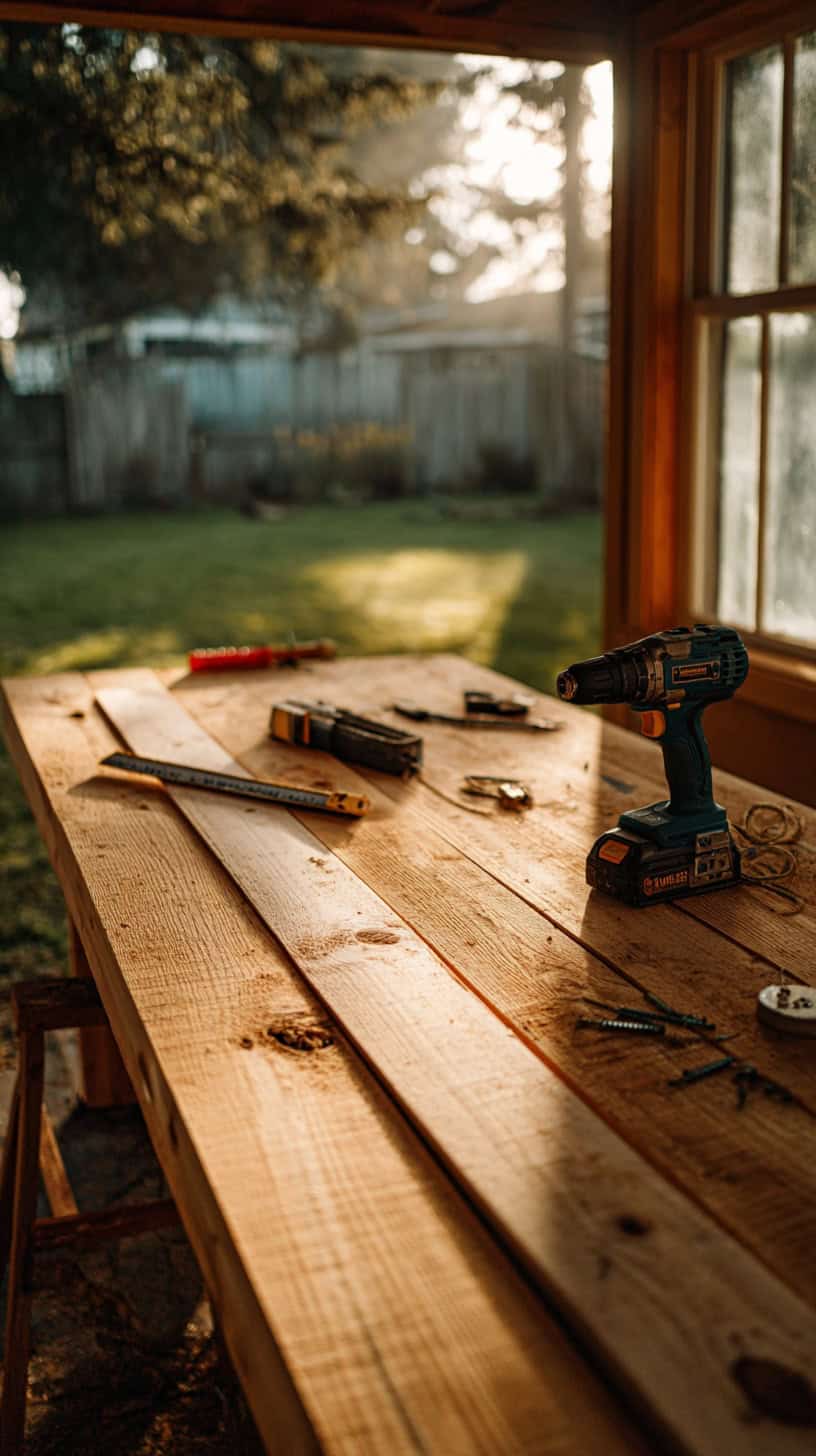
Here’s my basic materials list for a standard raised bed:
- Four cedar boards for the long sides
- Four cedar boards for the short sides
- Four corner posts cut to desired height plus 6 inches
- Galvanized deck screws, 3 inches long
- Landscape fabric for the bottom
- Quality garden soil and compost for filling
The DIY raised garden beds DIY layout you choose depends on your space and needs. U-shaped configurations work wonderfully for creating an enclosed garden room with easy access from three sides. We use this layout for our main vegetable beds, and it feels like stepping into a cozy garden alcove.
Grid layouts with pathways between multiple beds look organized and professional. We spaced our beds 3 feet apart for comfortable walking paths, and this arrangement makes crop rotation super easy. Each year, plants move to different beds following a simple pattern.
Raised garden bed plans can be as simple or complex as you want. Start with basic rectangles to build confidence, then expand into creative shapes later. There’s absolutely no pressure to get fancy on your first try!
DIY Raised Planter Boxes for Instant Fun
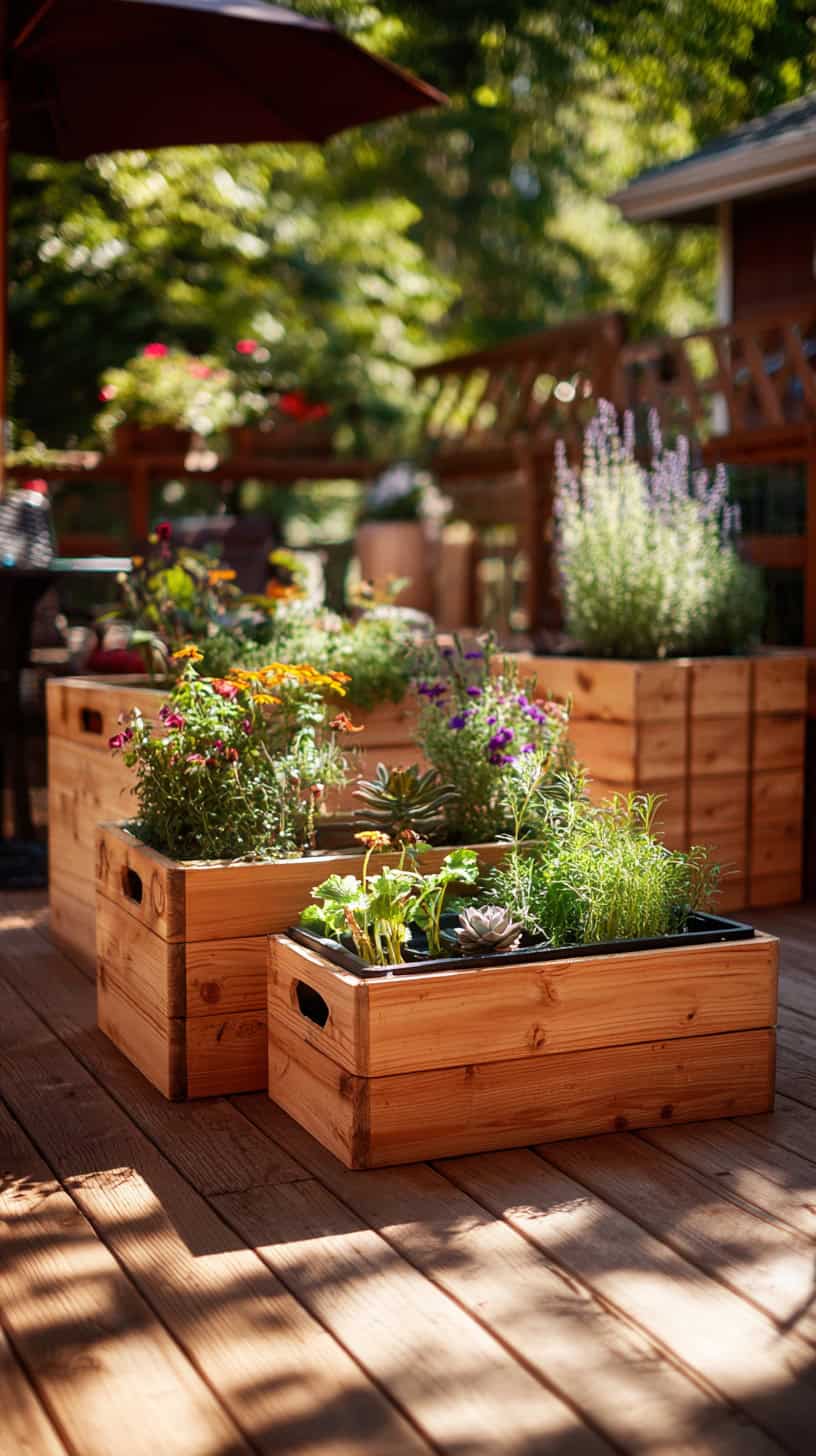
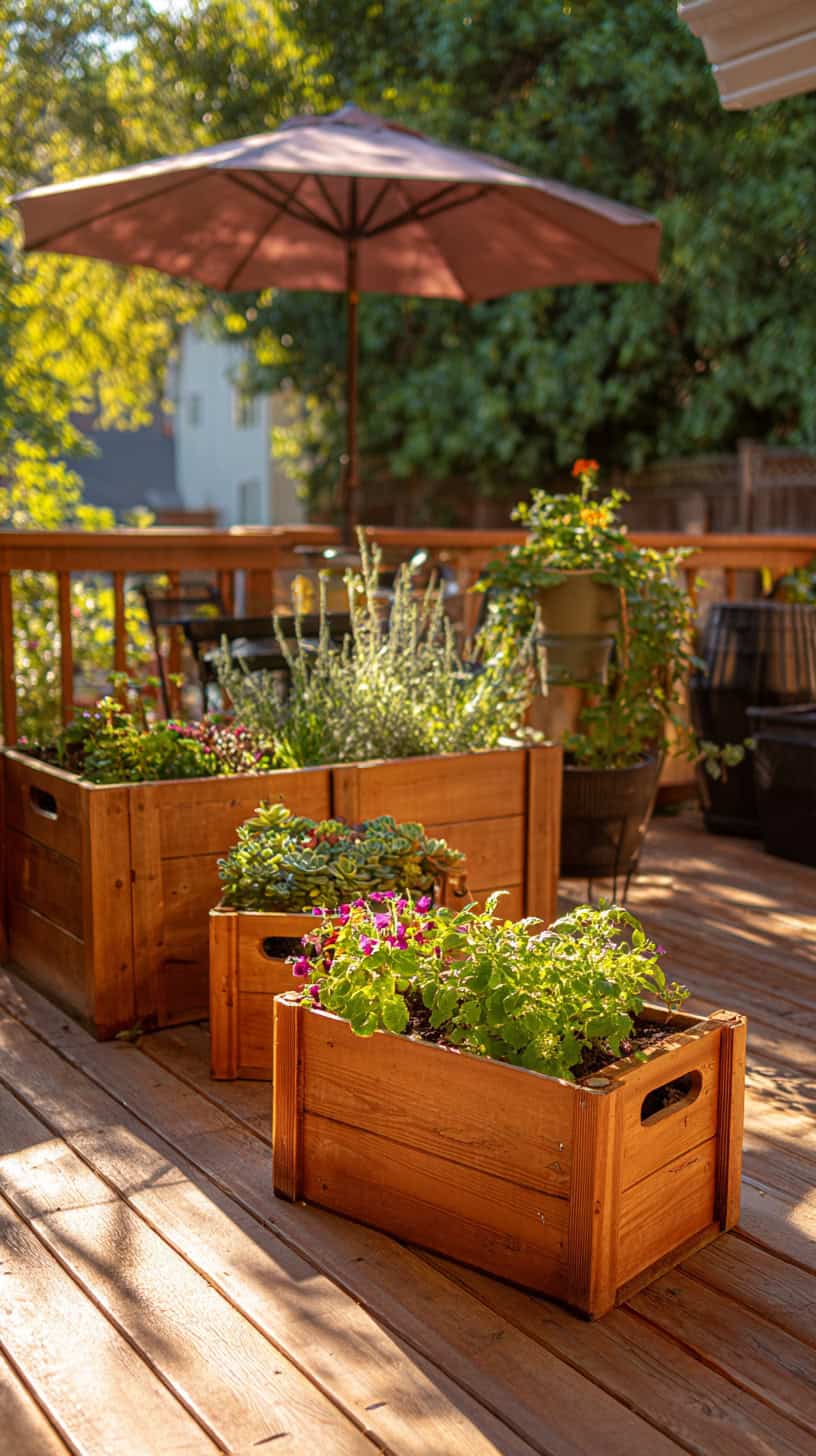
DIY raised planter boxes bring the joy of gardening to patios, decks, and other hardscaped areas. These portable containers are perfect for renters or anyone who wants flexibility in their garden design.
We built several cedar planter boxes in different sizes, and they’ve become our most versatile garden elements. The smaller ones move around the deck following the sun, while larger boxes stay planted with perennial herbs and flowers. This mobility is so freeing compared to permanent in-ground beds!
Adding legs to your planter boxes creates comfortable working height and prevents bending. Our waist-high boxes are absolute favorites because I can tend them without kneeling. My back thanks me every single day, trust me!
Built-in storage underneath tall planter boxes is brilliantly practical. We designed ours with a lower shelf between the legs, perfect for storing hand tools, gloves, and watering cans. Everything stays organized and within reach right where we need it.
Window box style planters mounted on deck railings maximize space without taking up precious floor area. We filled ours with trailing herbs and edible flowers that cascade beautifully while staying accessible for frequent harvesting. Snipping fresh basil while grilling dinner is one of life’s simple pleasures!
Self-watering planter boxes are worth the extra construction effort, especially for busy families. Add a water reservoir at the bottom with a wicking system, and your plants stay evenly moist for days. We use these for thirsty vegetables like tomatoes and peppers with excellent results.
The beauty of wooden raised garden beds, especially cedar ones, is their natural good looks. No painting or staining required, just let them weather naturally to a gorgeous silver-gray patina. The wood tells a story as it ages, showing the passage of seasons and years of happy gardening.
Cedar raised garden beds have truly transformed our family’s approach to growing food and flowers. The natural durability, beautiful appearance, and versatility of design options mean there’s a perfect cedar bed solution for every space and style. Whether you’re building simple raised garden beds from scratch, creating an elaborate potager garden, or tucking productive beds along every available fence line, cedar provides the perfect foundation for years of gardening success. Start with one bed this season and watch how quickly you catch the raised bed gardening bug. I promise you won’t regret it!
This post may contain affiliate links. Read the full disclosure here.