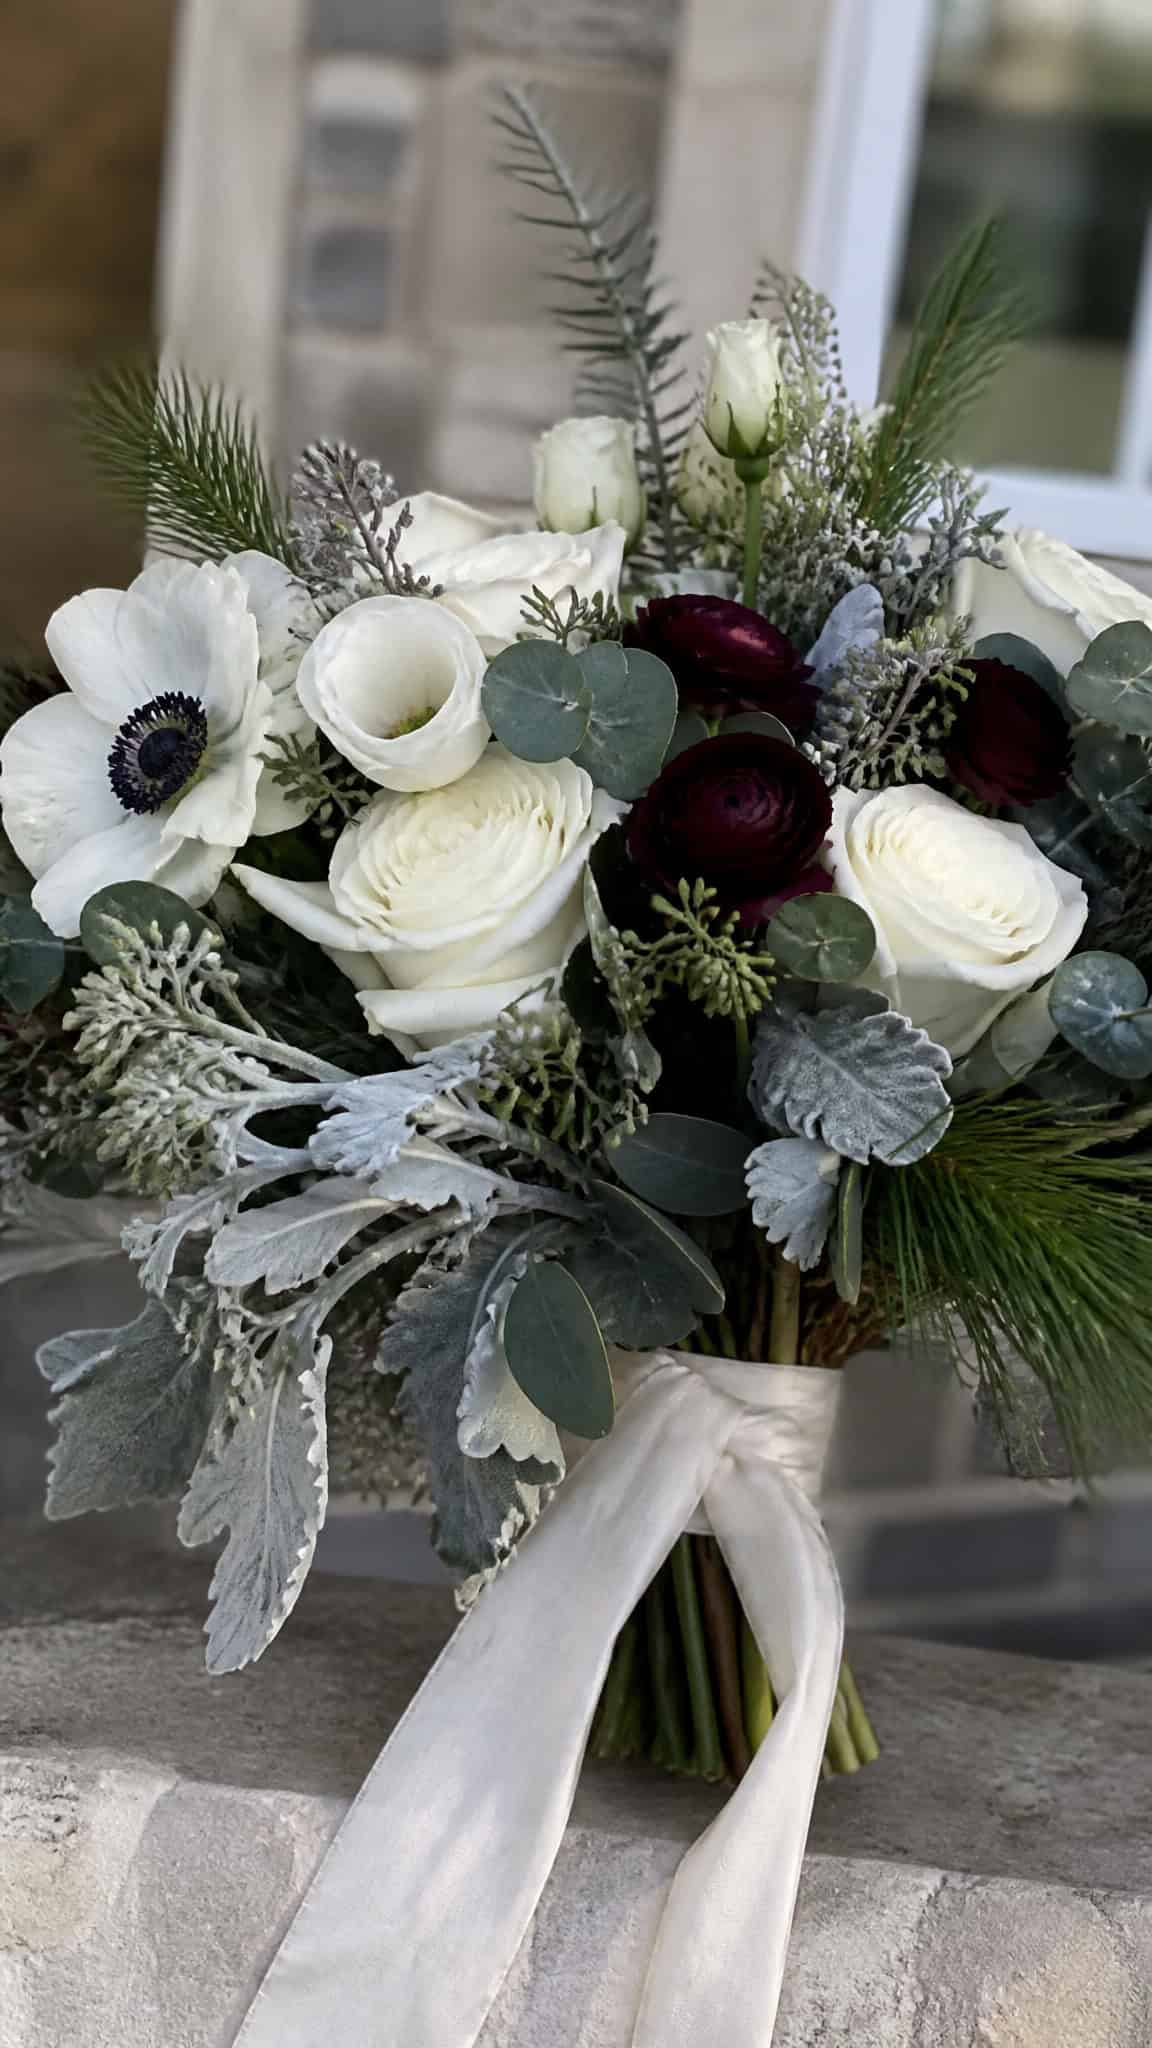
How To Make a DIY Winter Wedding Bouquet With Seasonal Charm
Winter weddings have this absolutely magical quality that no other season can quite capture! The crisp air, the possibility of snow, and those cozy vibes make everything feel like a fairytale…
And you know what?
Your bouquet should reflect that same enchanting winter wonderland feeling!
After creating your own arrangement, explore more winter wedding flowers for brides for extra inspiration on colors, blooms, and finishing touches.
Creating your own DIY winter wedding bouquet might sound intimidating, but I promise it’s totally doable! As a mom who’s crafted countless flower arrangements for school events and family celebrations (with three little boys constantly asking to help), I’ve learned that with the right flowers, a bit of patience, and some seasonal touches, you can create something absolutely breathtaking. Plus, making it yourself adds such a personal touch that you’ll treasure in your wedding photos forever!
Choosing the Perfect Winter Flowers and Greenery
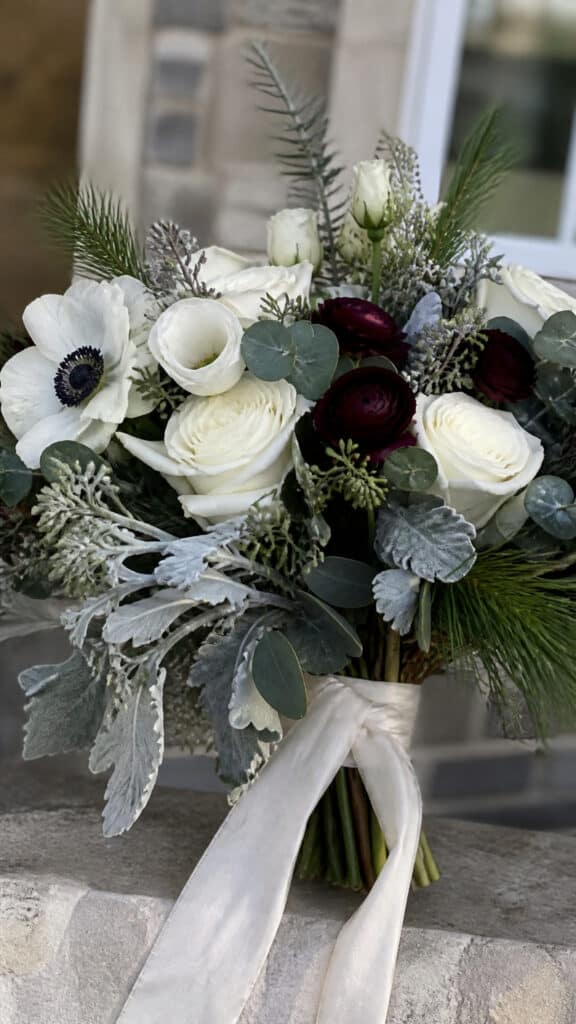

The foundation of any gorgeous DIY winter wedding bouquet starts with selecting the right blooms and greenery! Winter actually offers some of the most stunning flower options, and they’re often heartier than their spring and summer counterparts, which means they’ll hold up beautifully throughout your big day.
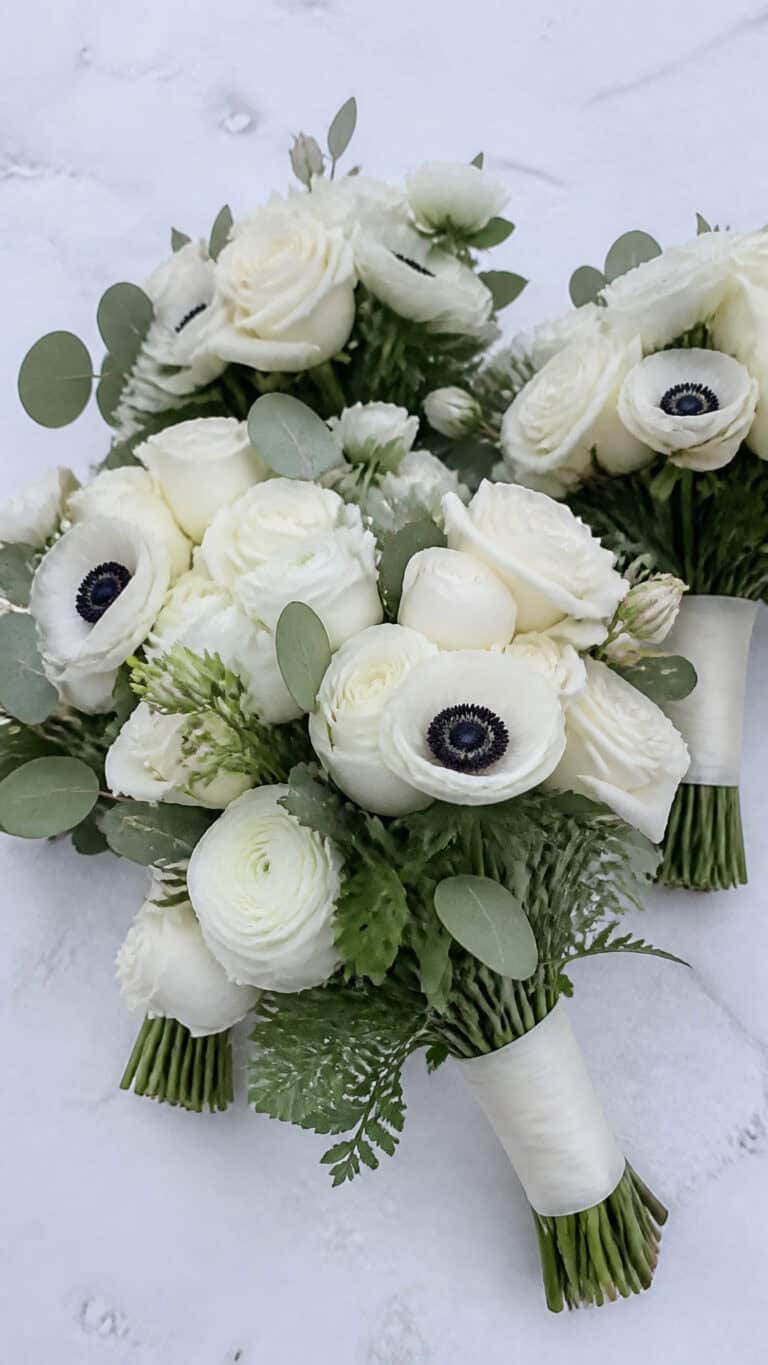
For winter flowers, I absolutely love working with white roses, which give that classic, elegant look. Ranunculus are another favorite because they have these gorgeous layered petals that photograph beautifully! Anemones add a pop of drama with their dark centers, and amaryllis brings bold, statement-making blooms. Don’t forget about hellebores, which are actual winter bloomers and have this delicate, almost mystical quality!
When it comes to greenery, this is where winter really shines! Eucalyptus is always a winner with its silvery-green leaves and lovely scent. Pine and fir branches add that unmistakable winter feel, while cedar brings wonderful texture. I also love adding dusty miller for its soft, fuzzy leaves and olive branches for a more rustic touch. Holly with its red berries screams winter, though watch out for those prickly leaves!
Here’s a pro tip from all my crafting adventures with the boys: visit your local farmer’s market or specialty flower shop about a week before your wedding to see what’s available and fresh. You can even do a test run with a few stems to make sure you’re happy with how they look together!
Gathering Your Essential Supplies
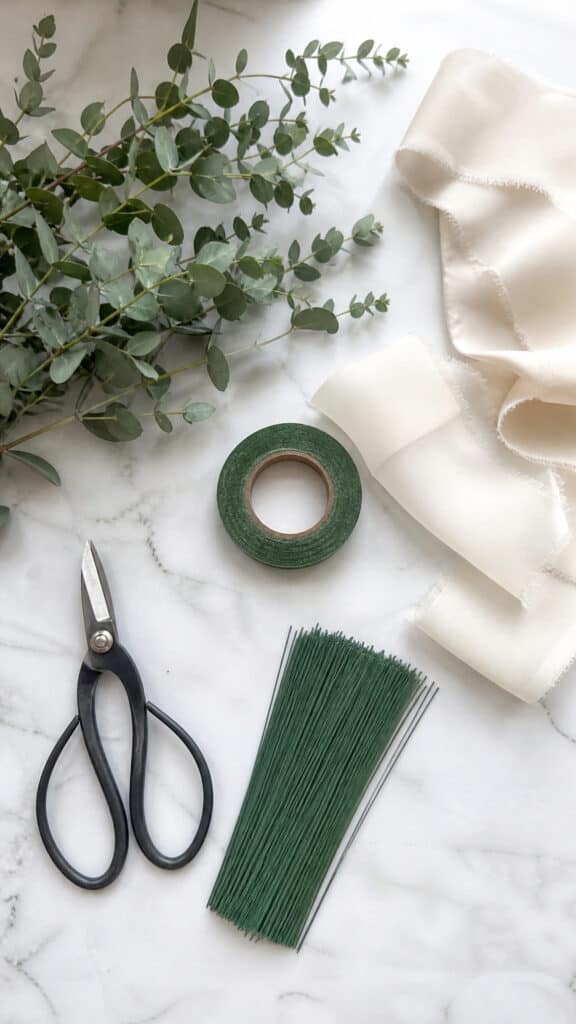
Before you dive into creating your DIY winter wedding bouquet, you’ll need to gather all your supplies! Trust me, having everything ready before you start makes the whole process so much smoother. I learned this the hard way after many craft projects with my boys where we had to stop halfway through to hunt for scissors or tape!
Here’s your essential shopping list:
- Floral shears or sharp scissors – Regular scissors won’t cut it (literally!) when it comes to thick stems
- Floral tape in green or white – This will hold your bouquet together
- Ribbon – Choose something that matches your wedding colors! Silk or velvet ribbon looks especially luxe for winter
- Floral wire – For securing any loose elements
- Rubber bands – These work great for the initial bundle
- Stem stripper or knife – To remove leaves and thorns
- Bucket of water – To keep your flowers fresh while you work
- Floral preservative – This helps your flowers last longer
- Pearl pins or decorative elements – Optional, but they add such a special touch!
You might also want to grab some spray sealant to help preserve your bouquet and a bouquet holder if you prefer not to hand-tie your arrangement. I’d also recommend having paper towels handy because working with fresh flowers can get a bit messy!
Most of these supplies you can find at your local craft store, and honestly, you don’t need to spend a fortune! I’ve found amazing deals at dollar stores for things like ribbon and decorative pins. Save your budget for those gorgeous flowers!
Preparing Your Flowers Like a Pro
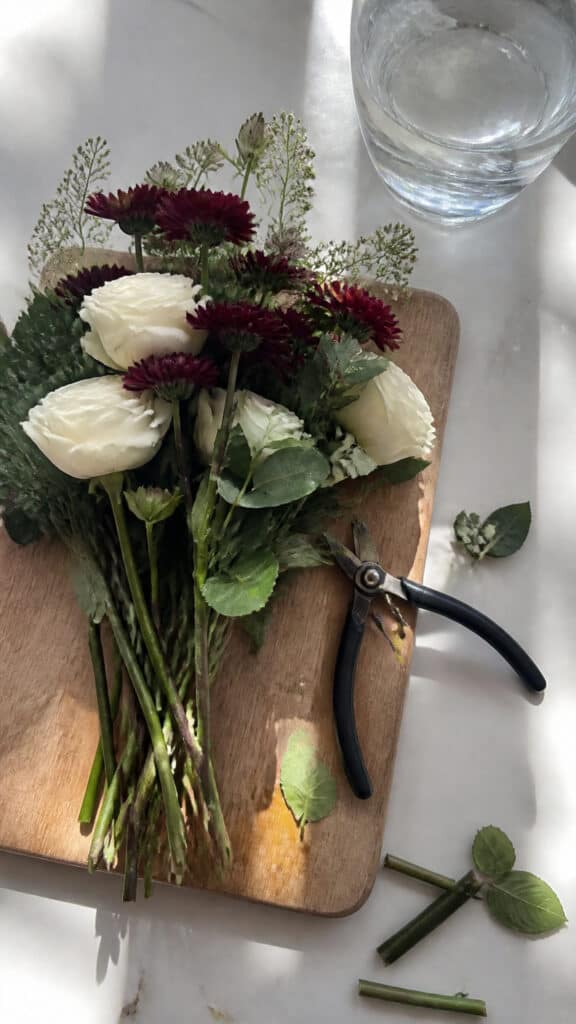
Okay, this step is absolutely crucial for a DIY winter wedding bouquet that looks professional and lasts all day! Proper flower prep makes all the difference between a bouquet that wilts by the ceremony and one that still looks fresh in your evening photos.
Start by giving all your flowers a fresh cut at a 45-degree angle! This helps them absorb water more efficiently. Do this under running water if possible, or immediately place them in water after cutting. Remove any leaves that would sit below the waterline because they’ll just create bacteria and make your flowers deteriorate faster. With roses, carefully remove the thorns using your stem stripper or by gently scraping them off with a knife.
Here’s something I learned from a florist friend: let your flowers hydrate for at least 4-6 hours before you start arranging! I know it’s tempting to dive right in, but this step is so important. Fill a clean bucket with cool water mixed with floral preservative, and let those beauties drink up. Keep them in a cool spot away from direct sunlight.
For your greenery, give those stems a fresh cut too! Pine and fir branches might have sap, so you might want to wear gloves. Strip any needles or leaves from the bottom few inches of each stem. If you’re using eucalyptus, you can gently crush the bottom of the stems with a hammer to help them absorb more water!
The night before your wedding, do a final fresh cut on everything and keep your flowers in water in a cool room. Some brides even keep them in a bathroom with the shower running cold water to create a humid environment! I did this for my sister’s wedding bouquet, and those flowers looked absolutely perfect all day long.
Building Your Bouquet Step by Step
Now comes the fun part – actually creating your DIY winter wedding bouquet! I’ll walk you through this step by step, and I promise it’s not as scary as it might seem. Just take your time and enjoy the process!
Step 1: Start with your greenery base. Hold a few pieces of eucalyptus or your chosen greenery in your non-dominant hand (left hand if you’re right-handed). This creates the foundation and framework for your bouquet. Fan them out slightly so they’re not all pointing the same direction.
Step 2: Add your focal flowers. These are your largest blooms – like roses or amaryllis. Place them in the center of your greenery, keeping all the stems going in the same direction. Hold everything at the binding point (where you’ll eventually tie it all together), which should be about where the stems meet the blooms.
Step 3: Build around your focal flowers. This is where you’ll add your secondary flowers like ranunculus and anemones. Keep turning the bouquet in your hand as you add stems, working in a spiral pattern. This technique helps create a rounded, professional-looking shape! Add stems at a slight angle rather than straight down.
Step 4: Fill in with texture. Add your pine branches, cedar, or other textured greenery to fill any gaps. Don’t be afraid to let some elements stick out further than others – this adds visual interest and that organic, natural feel that’s perfect for winter!
Step 5: Check your shape. Hold your bouquet at arm’s length and look at it from all angles. Does it look balanced? Are there any holes? This is your chance to add or remove stems until you’re happy with how it looks. The bouquet should be fuller at the top and taper down toward where you’re holding it.
Step 6: Secure everything. Once you’re happy with your arrangement, wrap a rubber band tightly around the stems at your binding point. Then wrap floral tape around the stems, starting at the rubber band and working down about 3-4 inches. Pull the tape tightly as you wrap!
My biggest tip? Don’t overthink it! Some of my best arrangements happened when I just went with my gut and had fun with it. Your DIY winter wedding bouquet should reflect your personal style!
Adding Those Special Winter Touches
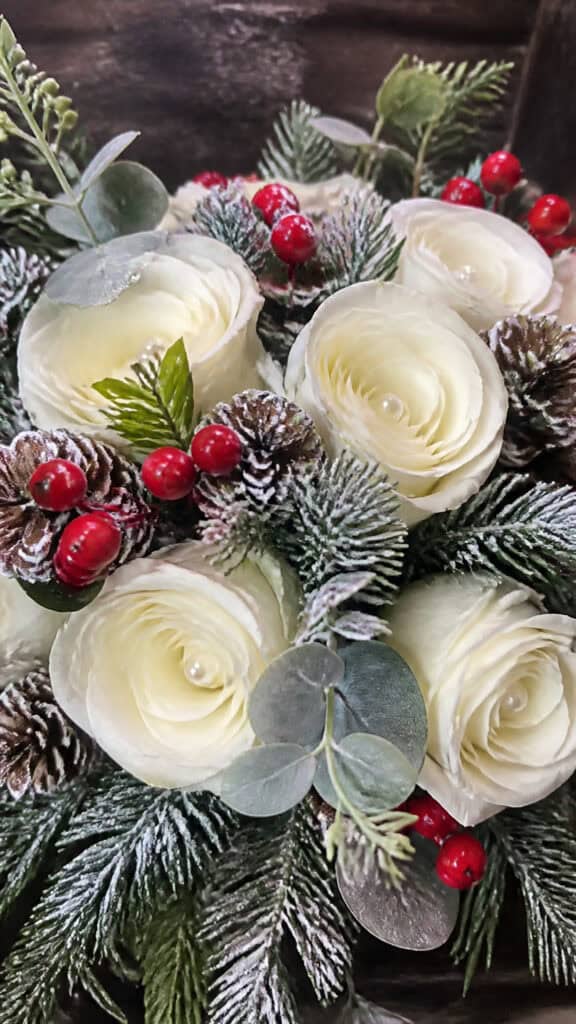
This is where you can really make your DIY winter wedding bouquet uniquely yours! Winter gives us so many gorgeous seasonal elements to work with, and adding these special touches takes your bouquet from beautiful to absolutely stunning.
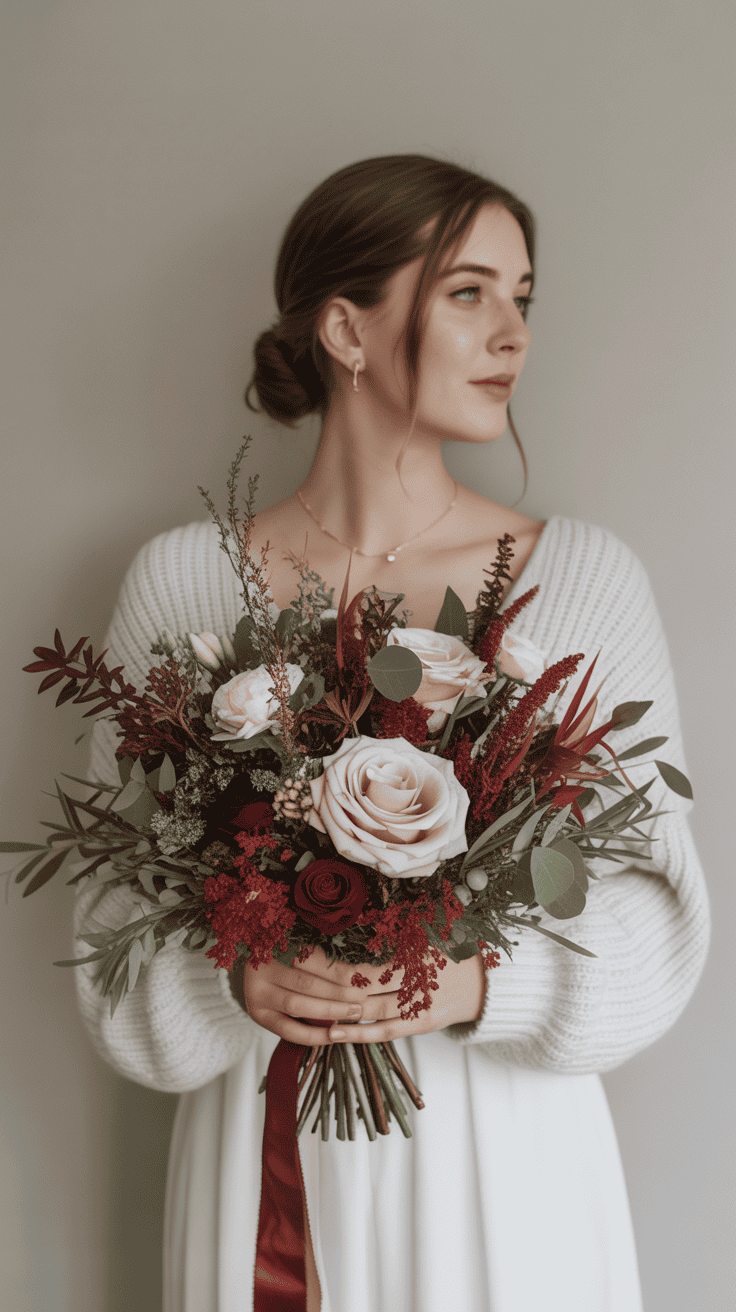
Berries are your best friend! Red hypericum berries, white snowberries, or even cranberries add pops of color and texture. You can tuck them throughout your arrangement or cluster them in one area for impact. Privet berries give a beautiful dark contrast, while ilex berries come in gorgeous shades of red and orange!
Pinecones bring instant winter charm! You can wire small pinecones and nestle them into your bouquet for that cozy, woodland feel. I love using bleached or frosted pinecones for a snowy effect! Just attach floral wire to the bottom scales of the pinecone, twist it tight, and you’ve got a stem to work with.
Consider adding winter whites and metallics. Silver or gold painted twigs, white-washed branches, or even small ornaments can add sparkle! Pearl-headed pins pushed into the center of roses create an elegant, vintage look. You could also add small crystals or rhinestones for some glamorous shine.
Texture is everything in winter! Cotton bolls add softness and that snow-like quality. Lamb’s ear leaves bring a fuzzy, silvery element. Dried elements like lotus pods, poppy pods, or dried hydrangeas add interesting shapes and a more rustic, natural vibe.
Don’t forget about scent! Tucking in sprigs of fresh rosemary or lavender not only looks beautiful but adds wonderful fragrance. Cinnamon sticks wired into your bouquet bring that cozy winter spice scent that’s absolutely perfect for the season!
The key is not to go overboard – you want your bouquet to look intentional, not cluttered! Choose two or three special elements that speak to you and incorporate them thoughtfully throughout your arrangement.
Wrapping and Finishing Your Bouquet
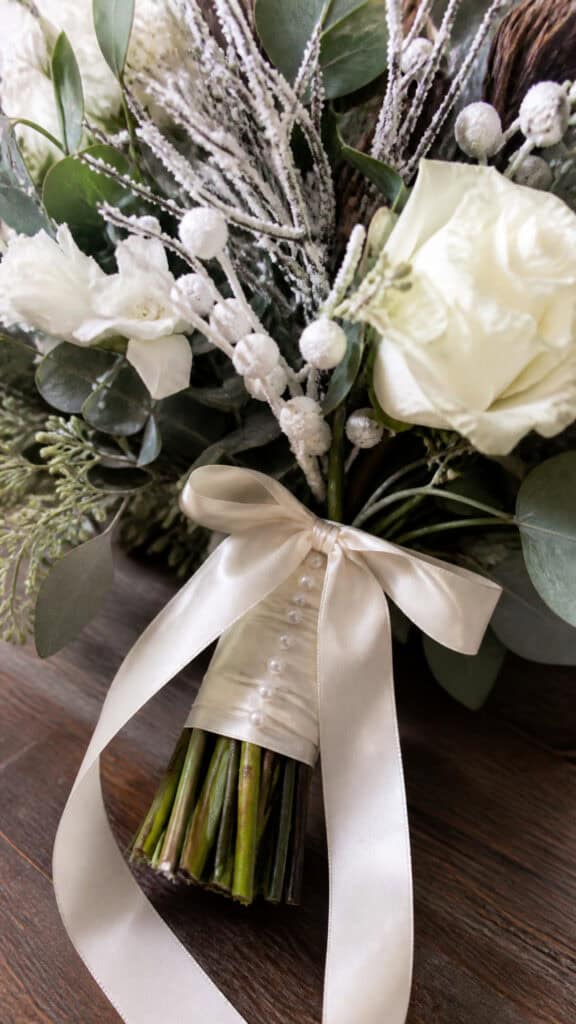
The finishing touches on your DIY winter wedding bouquet are what really make it look polished and professional! Plus, this is where you get to add your personal style and make it truly special.
First, let’s talk about wrapping the stems. You’ll want to cover all that floral tape with something beautiful! Start by trimming your stems to a comfortable length – usually about 7-8 inches below the binding point. Make sure all stems are even by laying the bouquet on a flat surface and cutting straight across.
Now for the ribbon! Silk ribbon is my absolute favorite for winter weddings because it photographs so beautifully and has this luxurious drape. Velvet ribbon is perfect for winter and adds such a rich, elegant touch. Start wrapping at the top of your taped area, overlapping each wrap slightly as you spiral down the stems. Secure the end with pearl-headed pins or a small dab of hot glue.
For extra security and polish, you can create a ribbon wrap with tails. Cut a long piece of ribbon (about 2-3 yards), and starting at the top, wrap it around the stems at a slight angle, working your way down and then back up. Leave long tails at the end that you can tie in a bow or let cascade down for a romantic look!
Want to add something extra special? Here are some ideas I love:
- Wrap a piece of lace from your dress or a family heirloom around the stems
- Attach a small locket with photos or a meaningful charm
- Pin a piece of your grandmother’s jewelry to the ribbon
- Wrap the stems with twine for a rustic look, then add the ribbon over it
- Attach a small sprig of mistletoe for good luck!
Once your ribbon is secured, give your bouquet a final spritz with water and store it in a cool place until you’re ready to walk down the aisle! I like to keep mine in a vase with just a little water at the bottom, in a room that’s around 65-70 degrees. Some brides even store their bouquet in the fridge overnight (just make sure it’s not too cold or near any fruit, which releases gases that can harm flowers!).
Preserving Your Bouquet After the Big Day
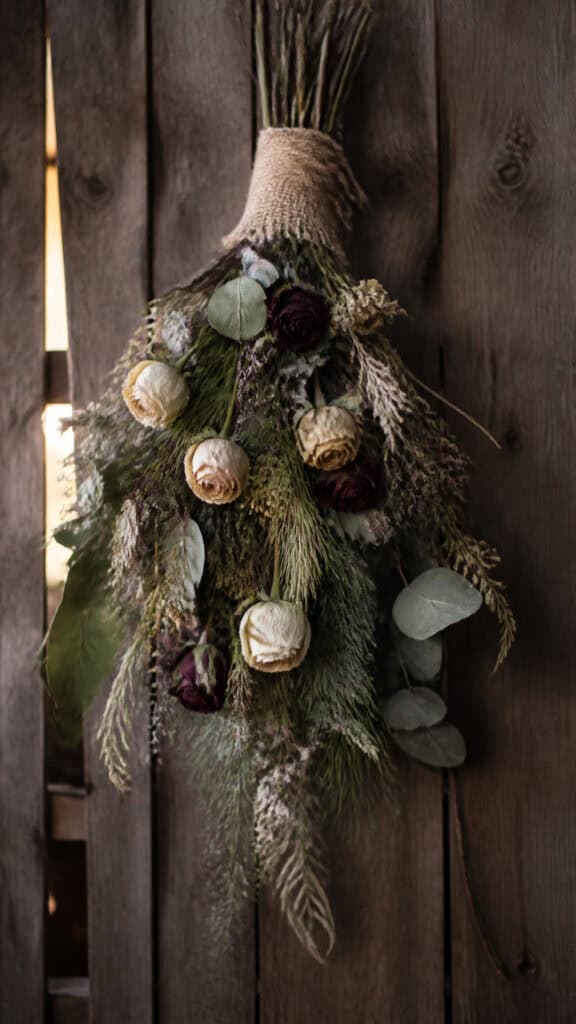
After putting so much love into creating your DIY winter wedding bouquet, you’ll definitely want to preserve it! I’m such a sentimental person (I still have my boys’ first baby shoes!), so I totally understand wanting to keep this special memento forever.
The easiest method is air drying! Remove the ribbon wrapping, then hang your bouquet upside down in a dark, dry place with good air circulation. A closet or spare room works perfectly! It takes about 2-3 weeks for the flowers to completely dry. Winter flowers like roses, eucalyptus, and pine actually dry beautifully and maintain a lot of their shape and color!
Pressing flowers is another wonderful option, especially if you want to create framed art afterward! Carefully disassemble your bouquet and press individual blooms between the pages of a heavy book, with parchment paper on either side. You can also buy a flower press! After a few weeks, you can arrange the pressed flowers in a shadow box or frame with your wedding invitation or photos.
For the most professional results, consider professional preservation. Companies specialize in freeze-drying bouquets, which maintains the shape and color incredibly well! They’ll typically create a display case or dome for your preserved bouquet. Yes, it’s an investment, but the results are absolutely stunning and will last for decades.
If you want to get creative, you can extract petals from your bouquet to make other keepsakes! I’ve seen brides make resin jewelry with their flower petals, create bookmarks, or even have petals incorporated into custom artwork. You could save some berries and pinecones to use in Christmas decorations for years to come!
Whatever method you choose, make sure to take lots of photos of your fresh bouquet too! Sometimes the best preservation is in the beautiful wedding photos you’ll treasure forever. And honestly, even if your preserved bouquet doesn’t look exactly like it did on your wedding day, it’ll still hold all those special memories!
Your Perfect Winter Wedding Awaits
Creating a DIY winter wedding bouquet is such a rewarding experience! Not only will you save money, but you’ll have this amazing sense of accomplishment knowing you made something so beautiful with your own hands. Plus, every time you look at your wedding photos, you’ll remember the fun (and maybe slightly stressful!) process of bringing your vision to life!
Remember, your bouquet doesn’t have to be perfect – it just has to be perfect for you! Embrace the natural, organic beauty of winter flowers and greenery, add those special seasonal touches that make your heart happy, and don’t stress if a petal falls or a stem doesn’t cooperate. The most important thing is that you’re celebrating your love, and your DIY winter wedding bouquet will be a beautiful reflection of this special season in your life. Now go create something absolutely magical!
This post may contain affiliate links. Read the full disclosure here.